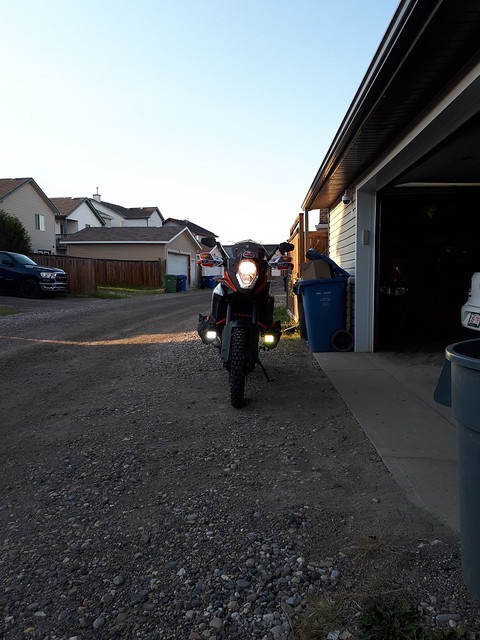
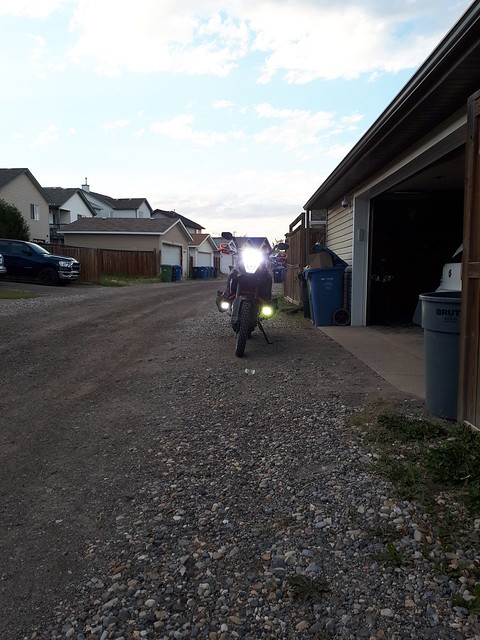
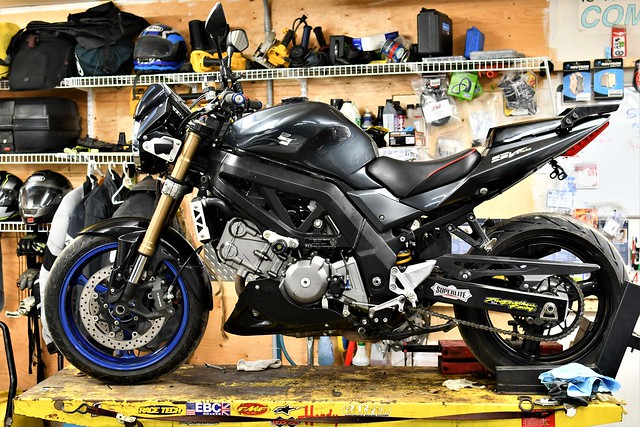
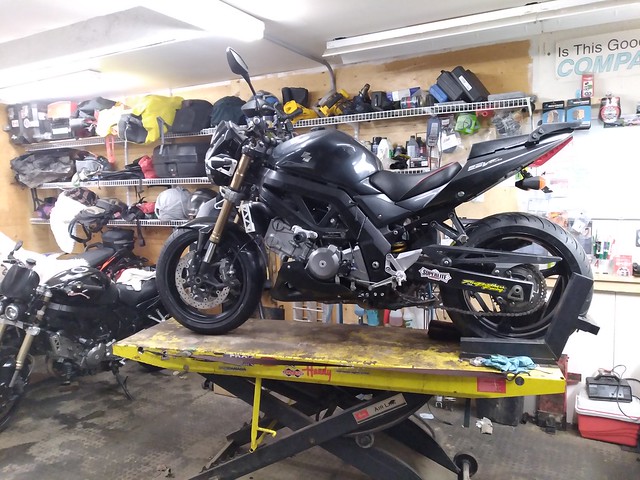
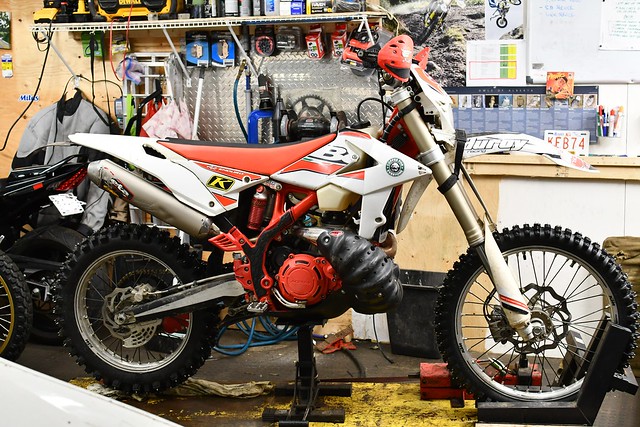
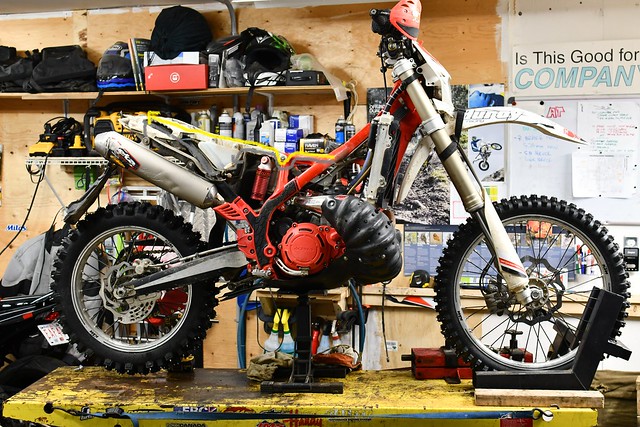
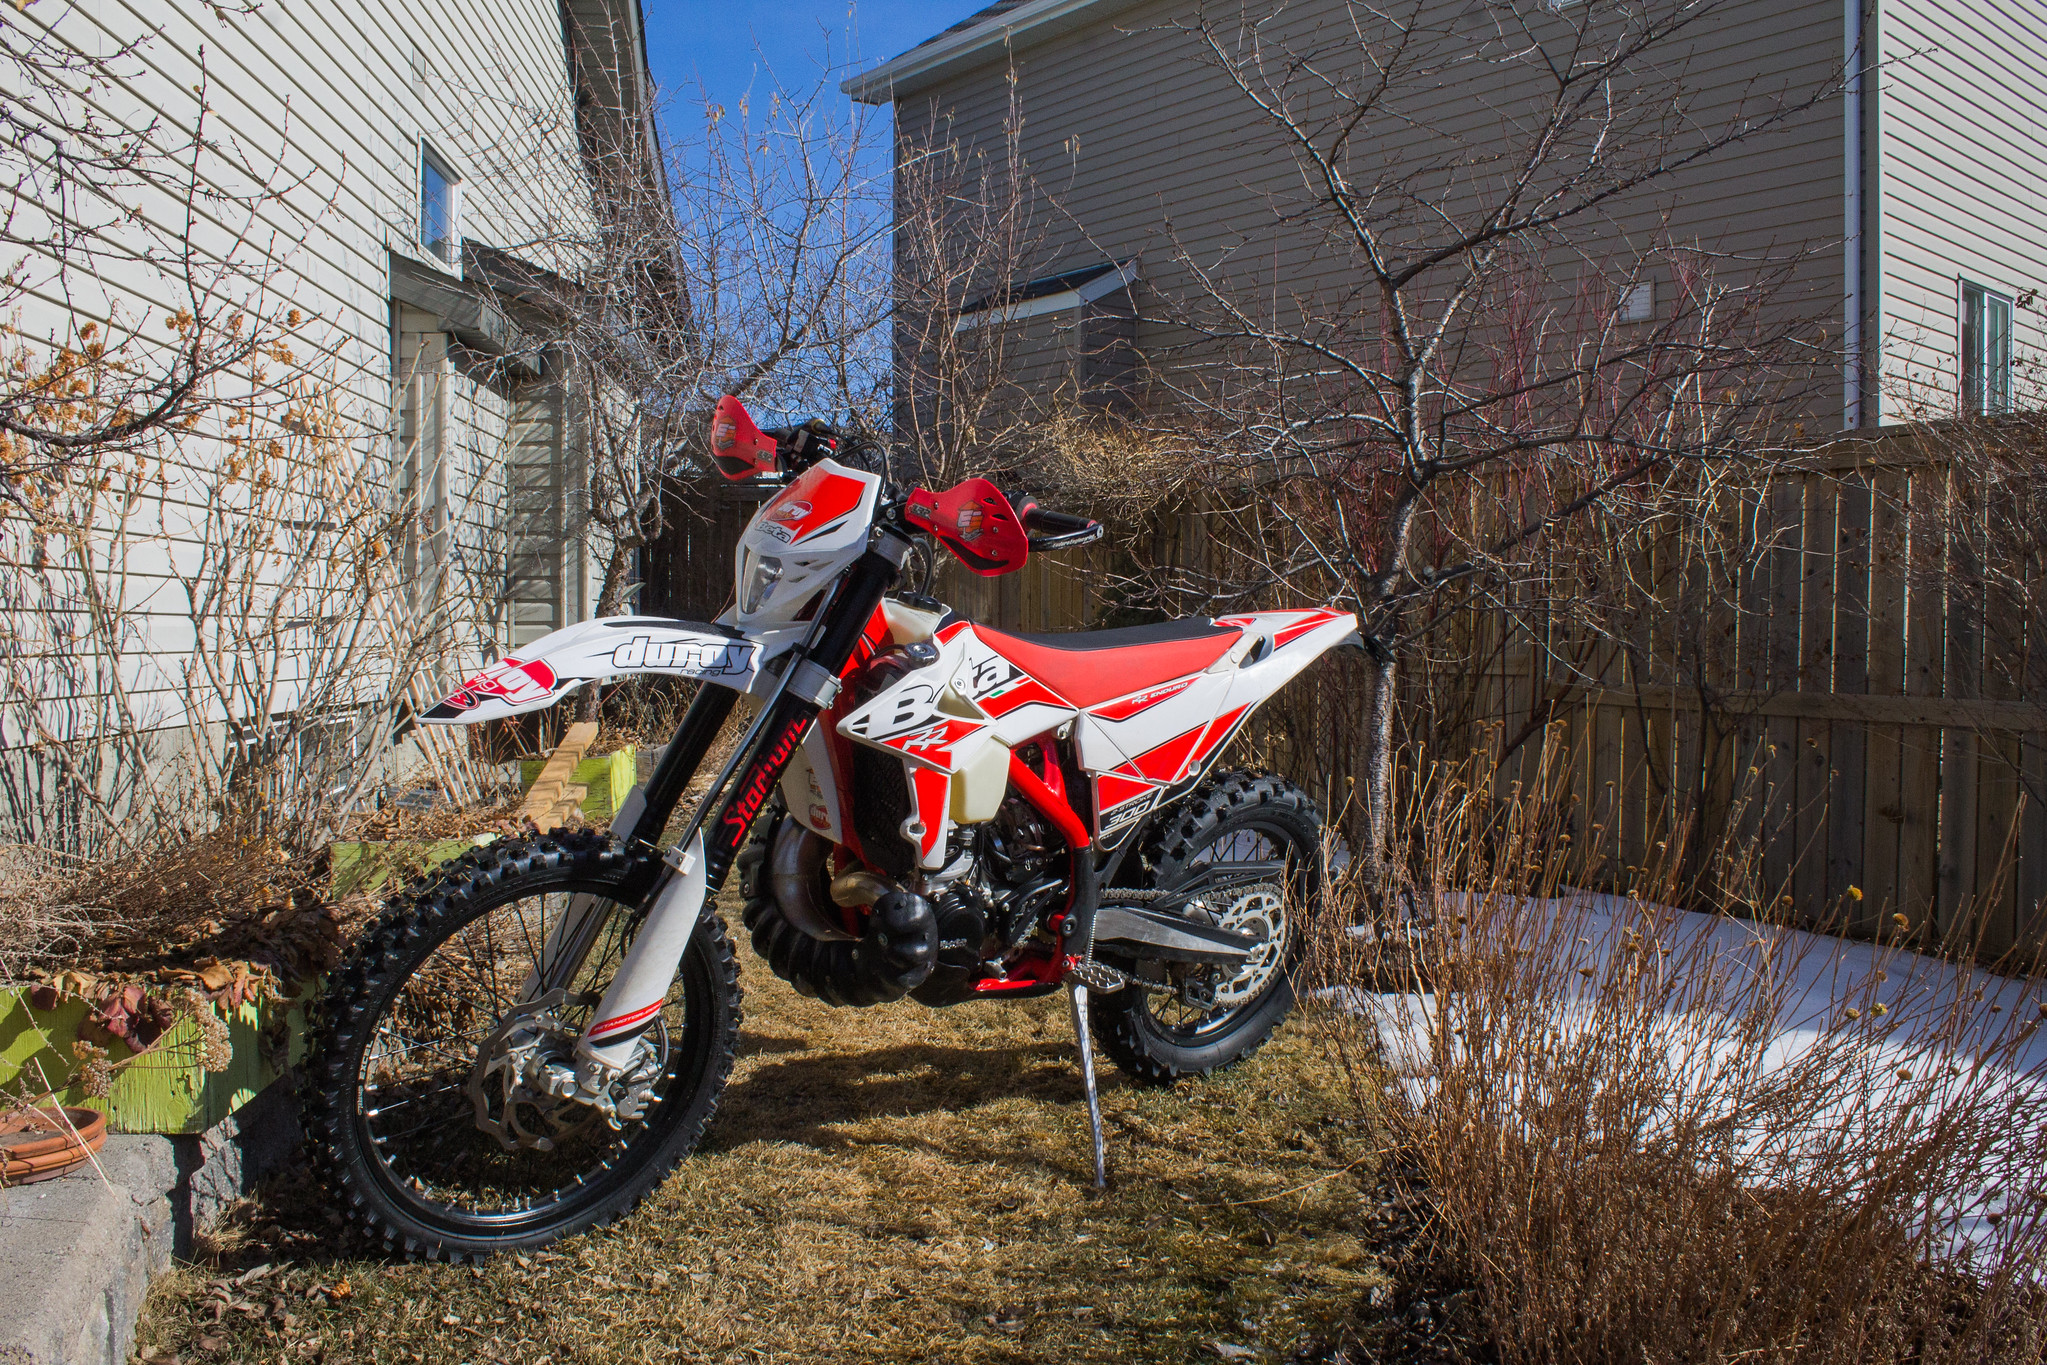
New bike new post. Pictures
I’ve been looking for a deal on a new or barely used 2018 Beta 300. One popped up a mere 3500km from my house, so after 2 months of it sitting in the want ads, I pounced! With some risk involved, I bought it site unseen. Save for the no oil in the tranny (more on that later) the bike was perfect. 25 hrs of use.
Managed to get it to my door cheaper than buying locally.
Big thanks to my buddy Serge for helping facilitate the sale.
Delivery was done by Simon from Protechnic transport. Excellent guy to deal with, and very reasonable. https://transportprotechnic.com/
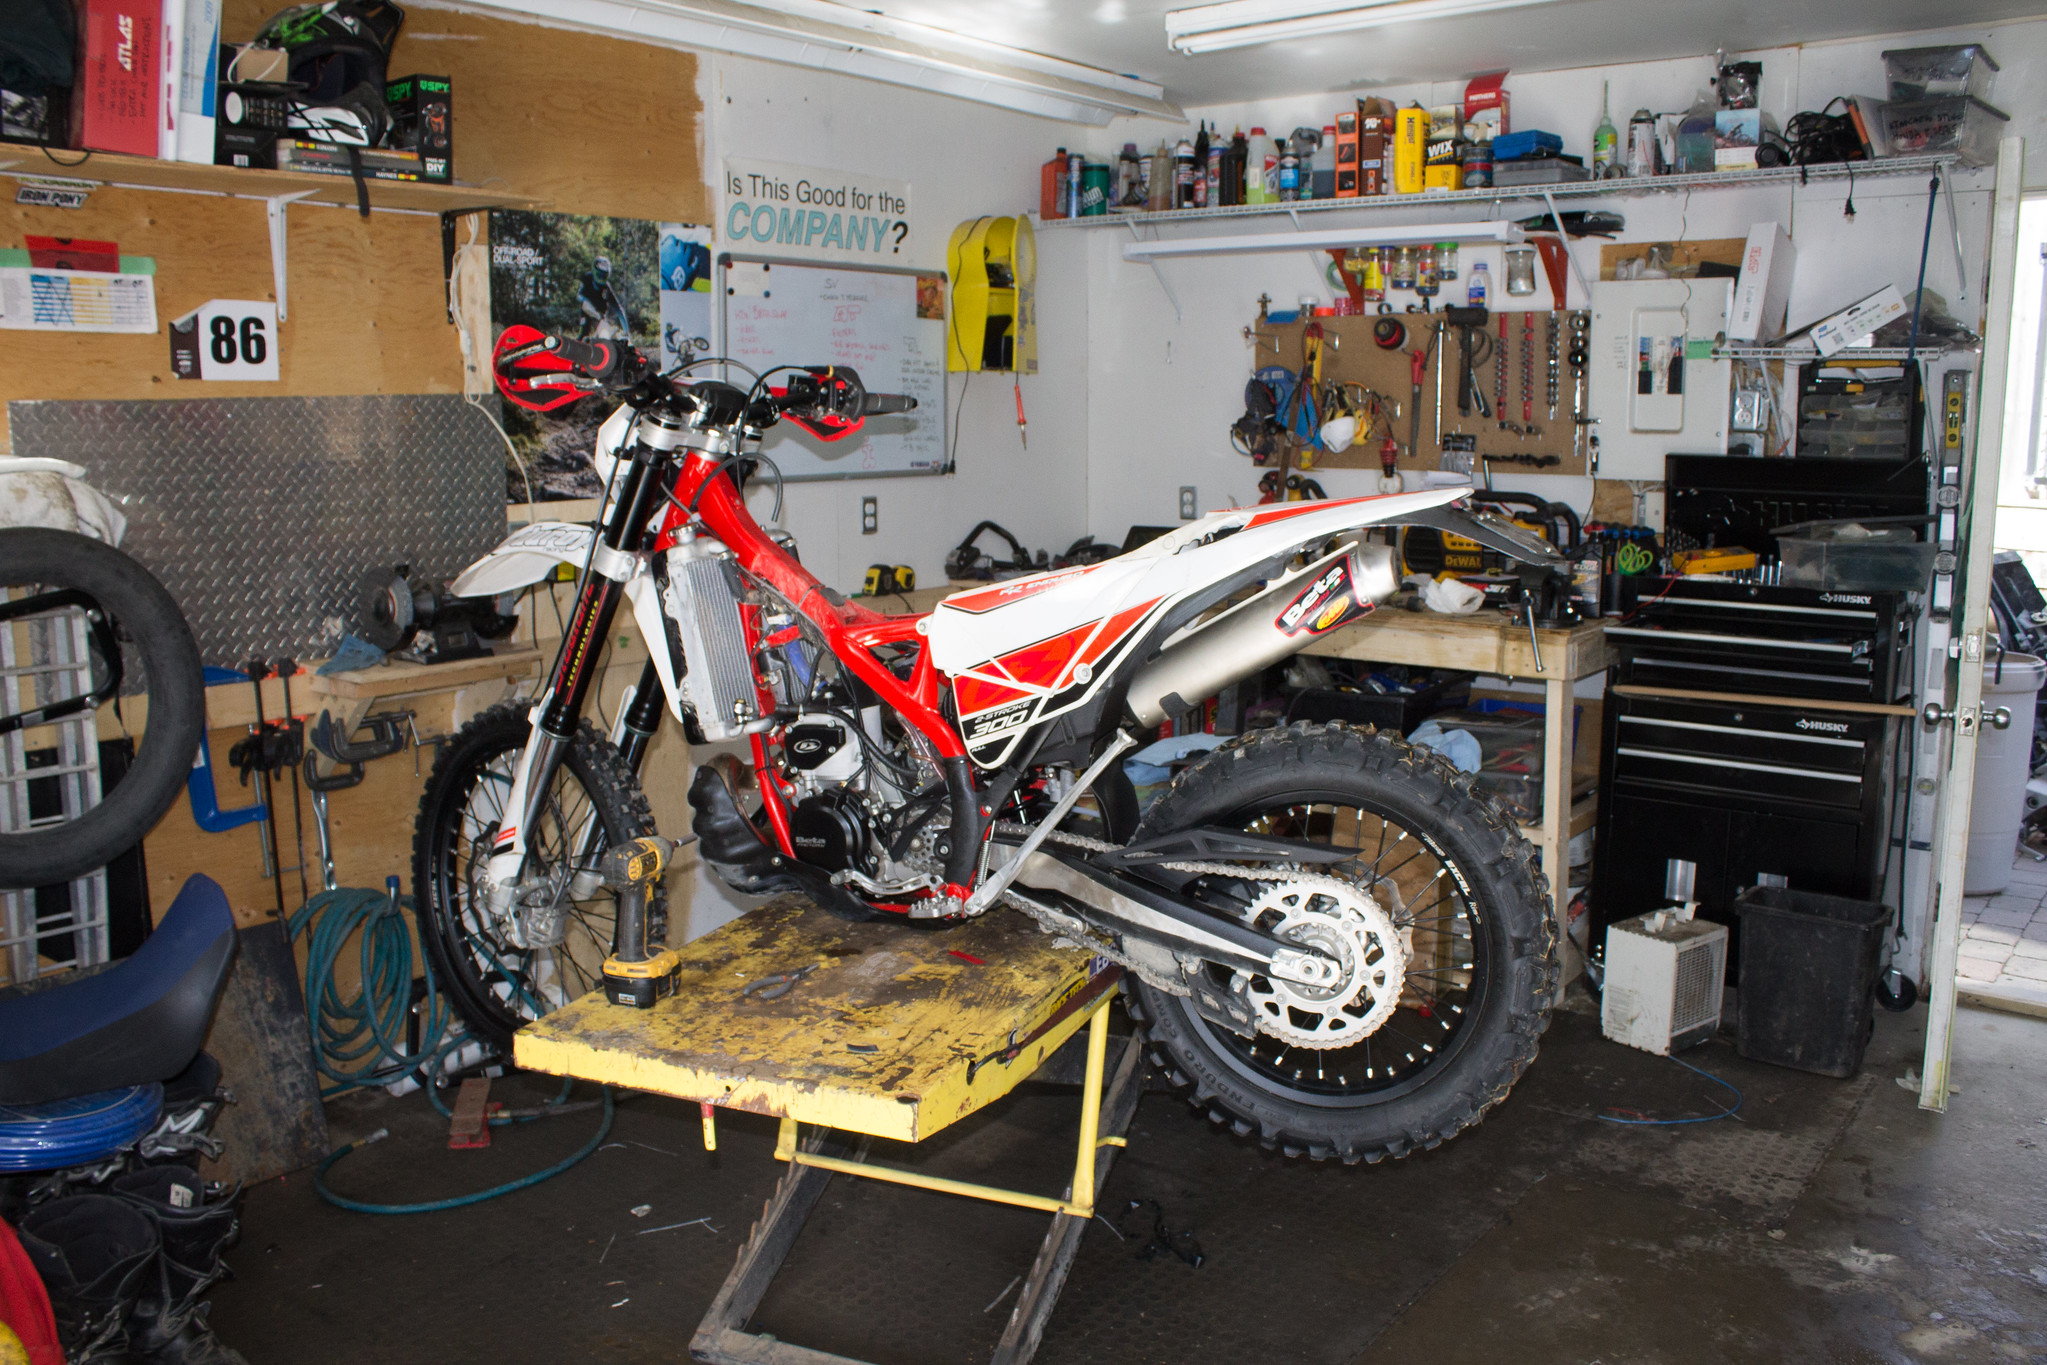
The Beta, aka the Italian Meatball came well equipped:
- Full stadium revalve c/w with big boy springs (they will collect dust on the shelf)
- Hyde skid plate
- Billet rad guards that say Beta Racing on them…good for an extra 15hp!
- Fastway pegs. Big bastards…love them!
- EE hand guards
- JD Jet kit
Bolt ons
(Front to back)
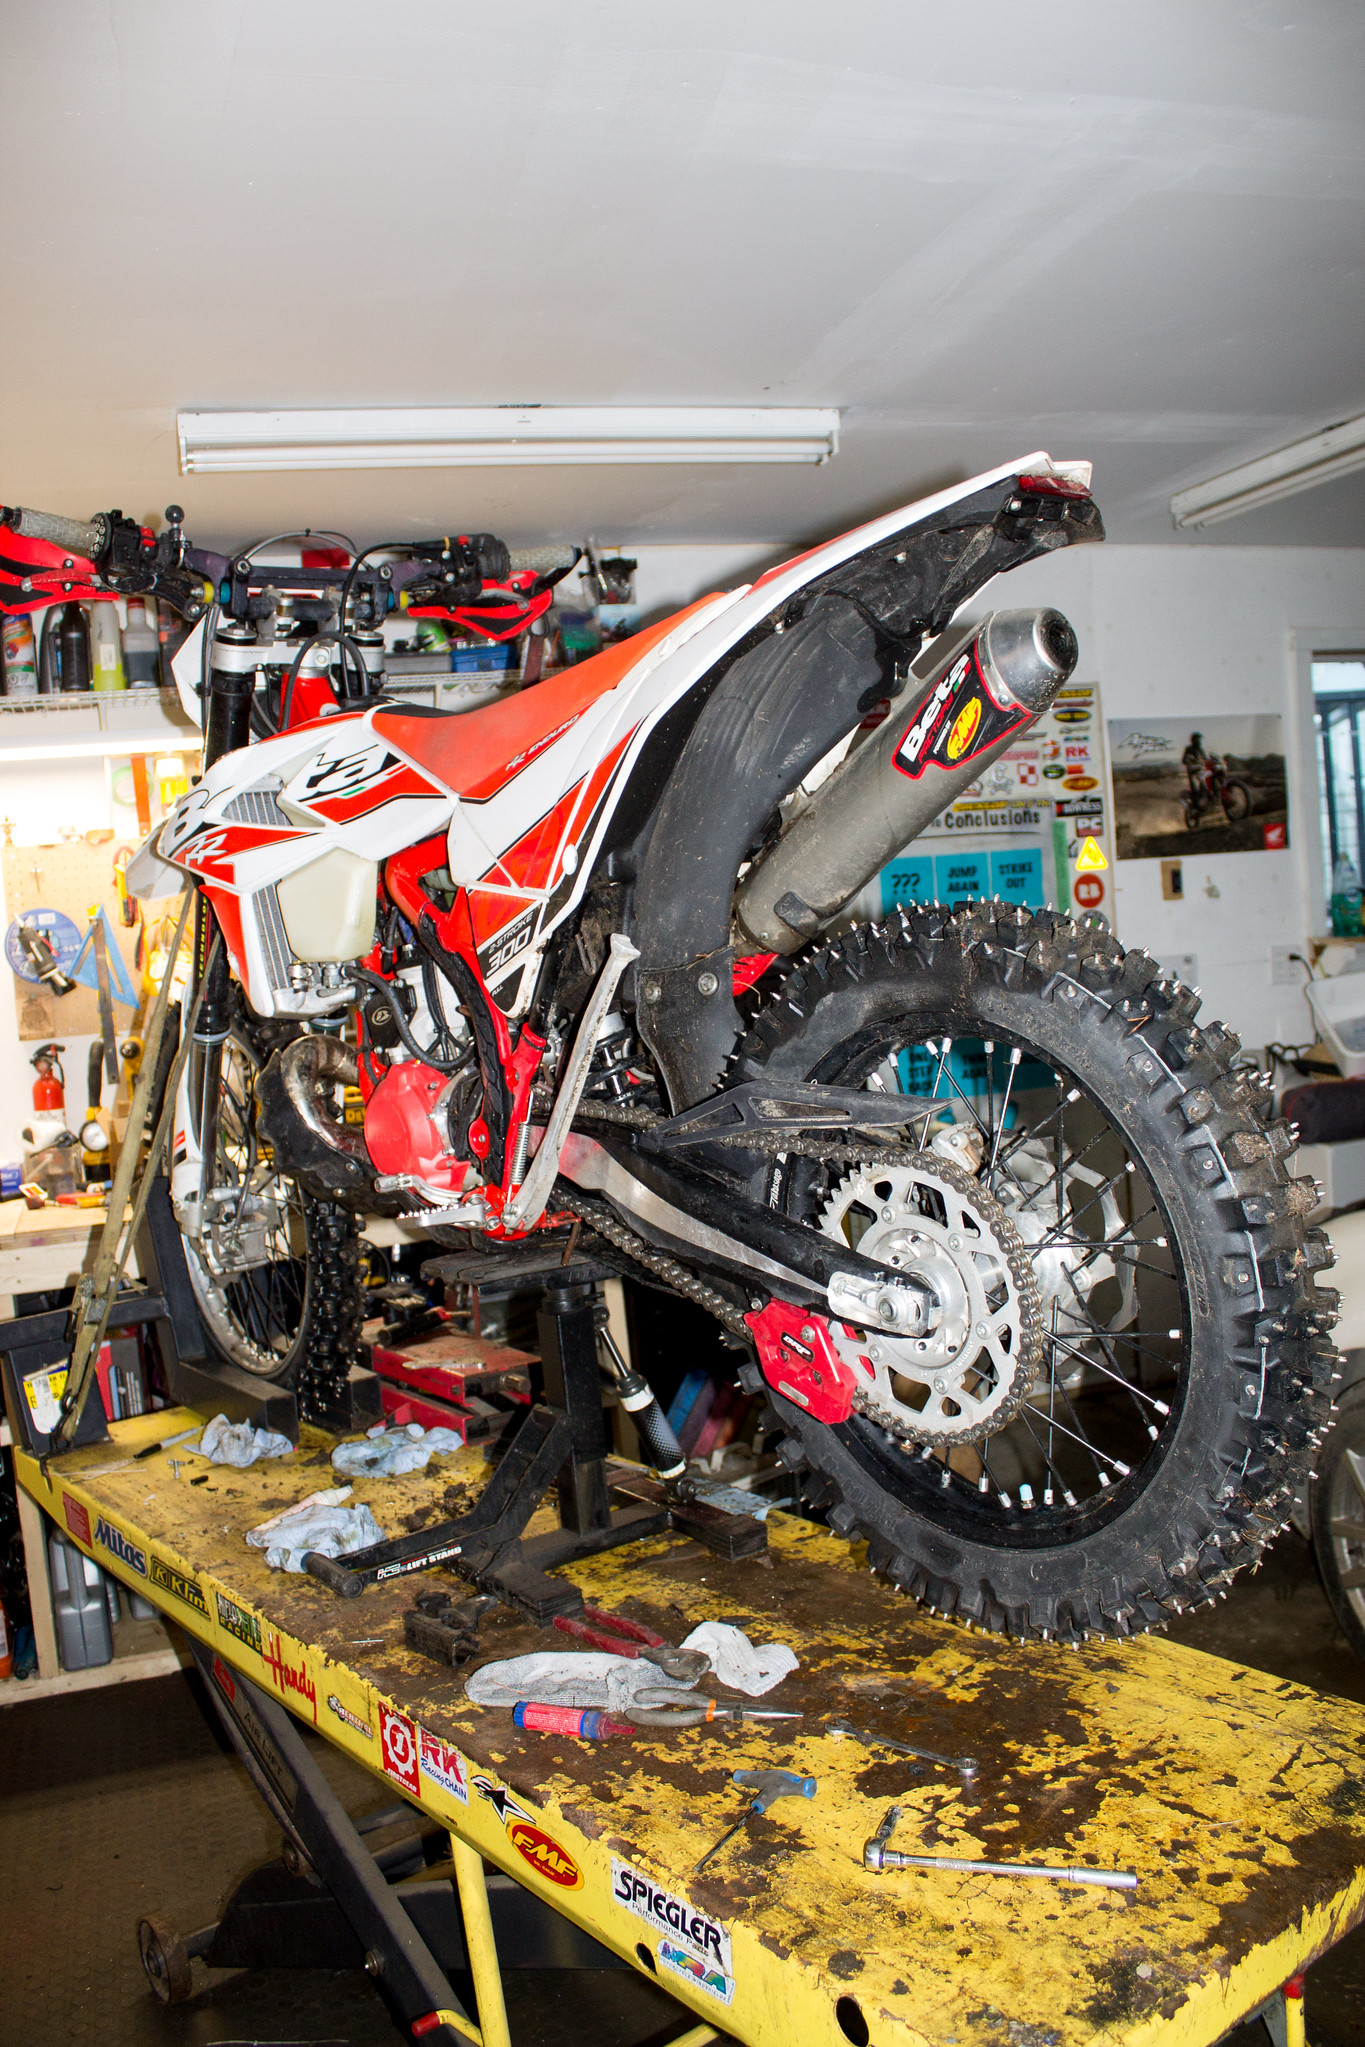
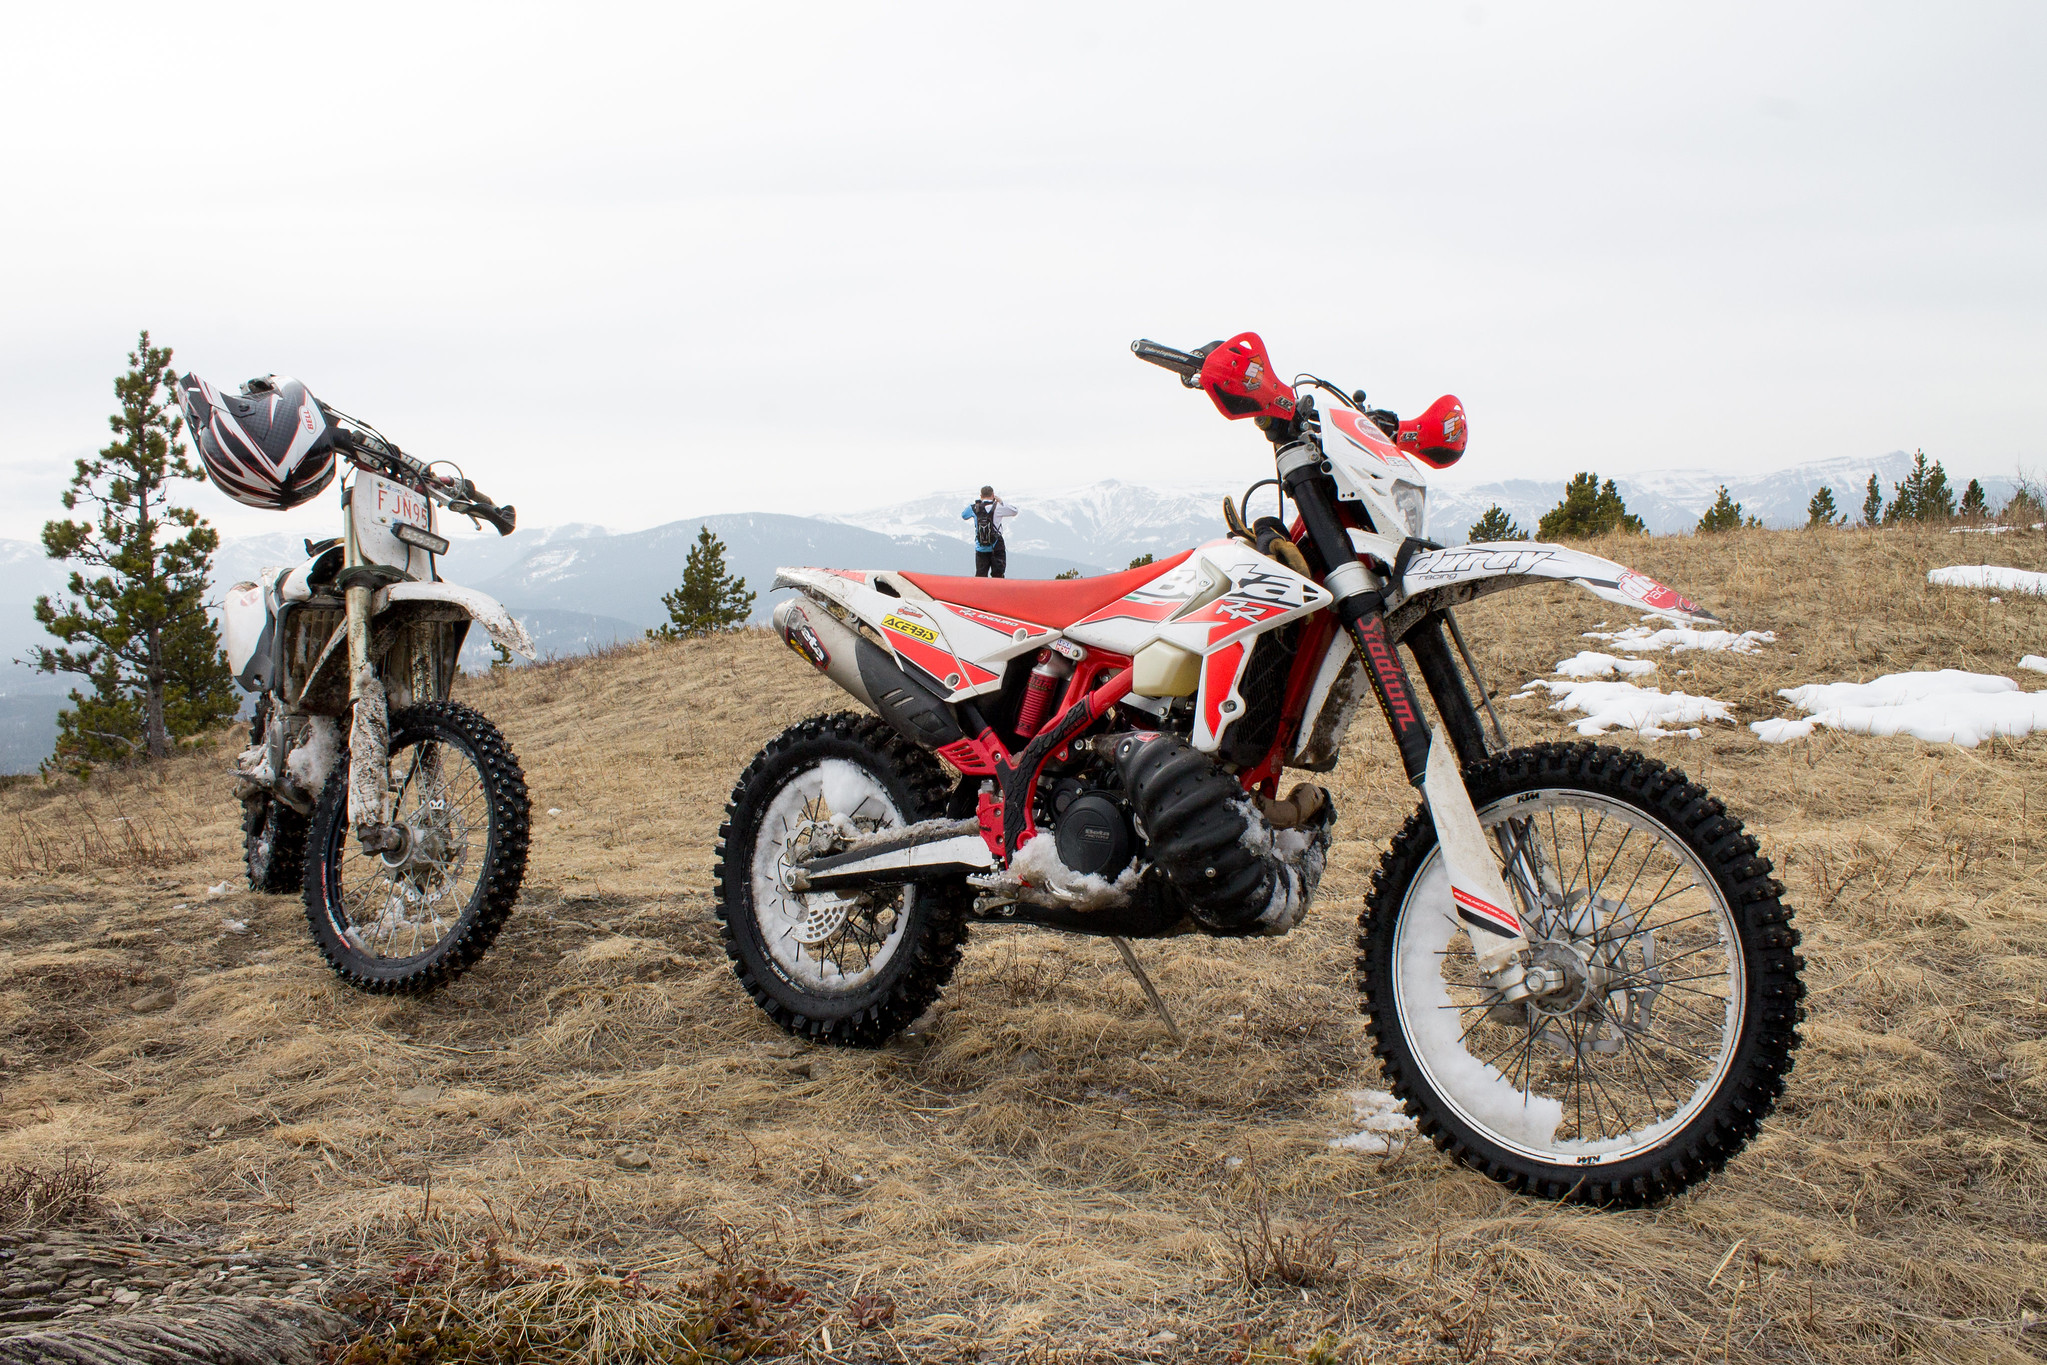
-Winter studded mitas tires/rims. Good news here. My rims from my 2014 XC300 bolt right up, including the disk. I ran some ebay cheepies on my KTM and got another set on its way from Chiiiiiiiiina! I think they are less than $60 for the set.
The rear rim/disk combo fits, but is 5 or 6mm wider, and will be sorted by getting a 2nd set of spacers, and machining the right (disk side) spacer down by that amount. For the time being I’m running mis matched rims. Behold!
- Front tug strap. I need help often while crashing around in the woods…Rear grab handles do the job well, so no tugger at the back
- Flexx bars, and isolation dampers from my XC. Straight bolt up
- Fork bleeders (Motion pro jobbies)
- Aluminum throttle tube and throttle cams (stock cam on). Have a hotter cam (30%, and 30% milder..used the 30% milder when I first started riding)
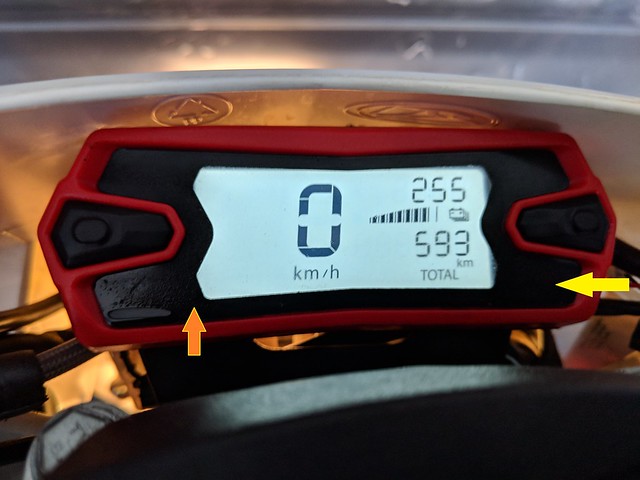
- Hour meter. Had a Chinese one kicking around the garage. The OEM jobbie does a good errr…job but nice to have a 2nd reference.
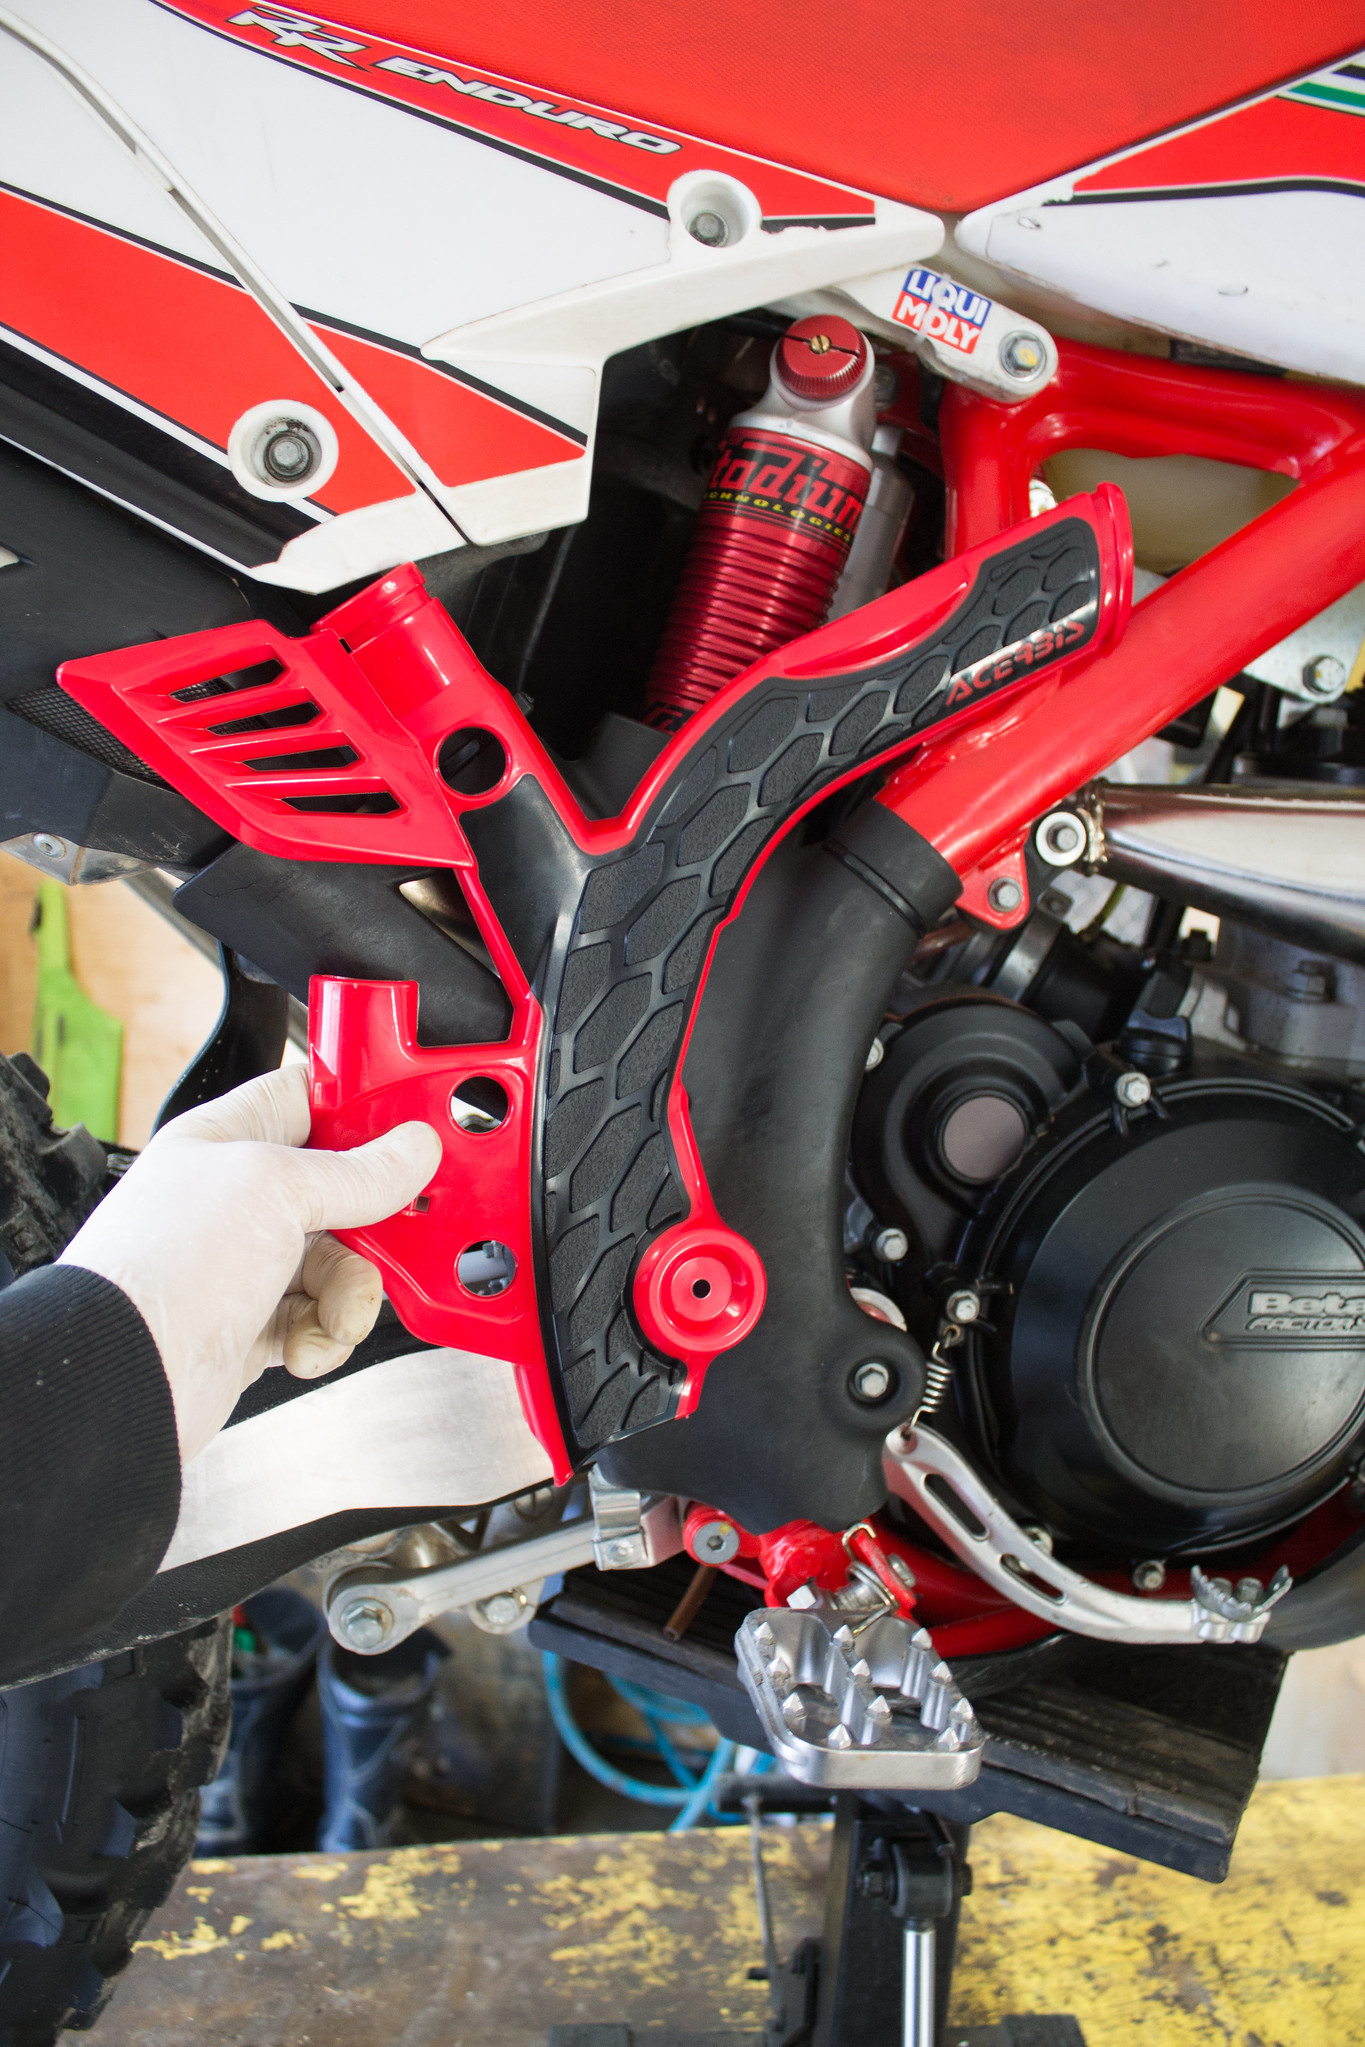
Acrebis frame protectors. Higher than OEM jobbies, and have built in rubber grips. I also took a bit of clear film over the top of the frame for moar protection.
Linkage protector. I ran a full one on my XC. I wanted something relatively simple and cheap ($50). Behold!
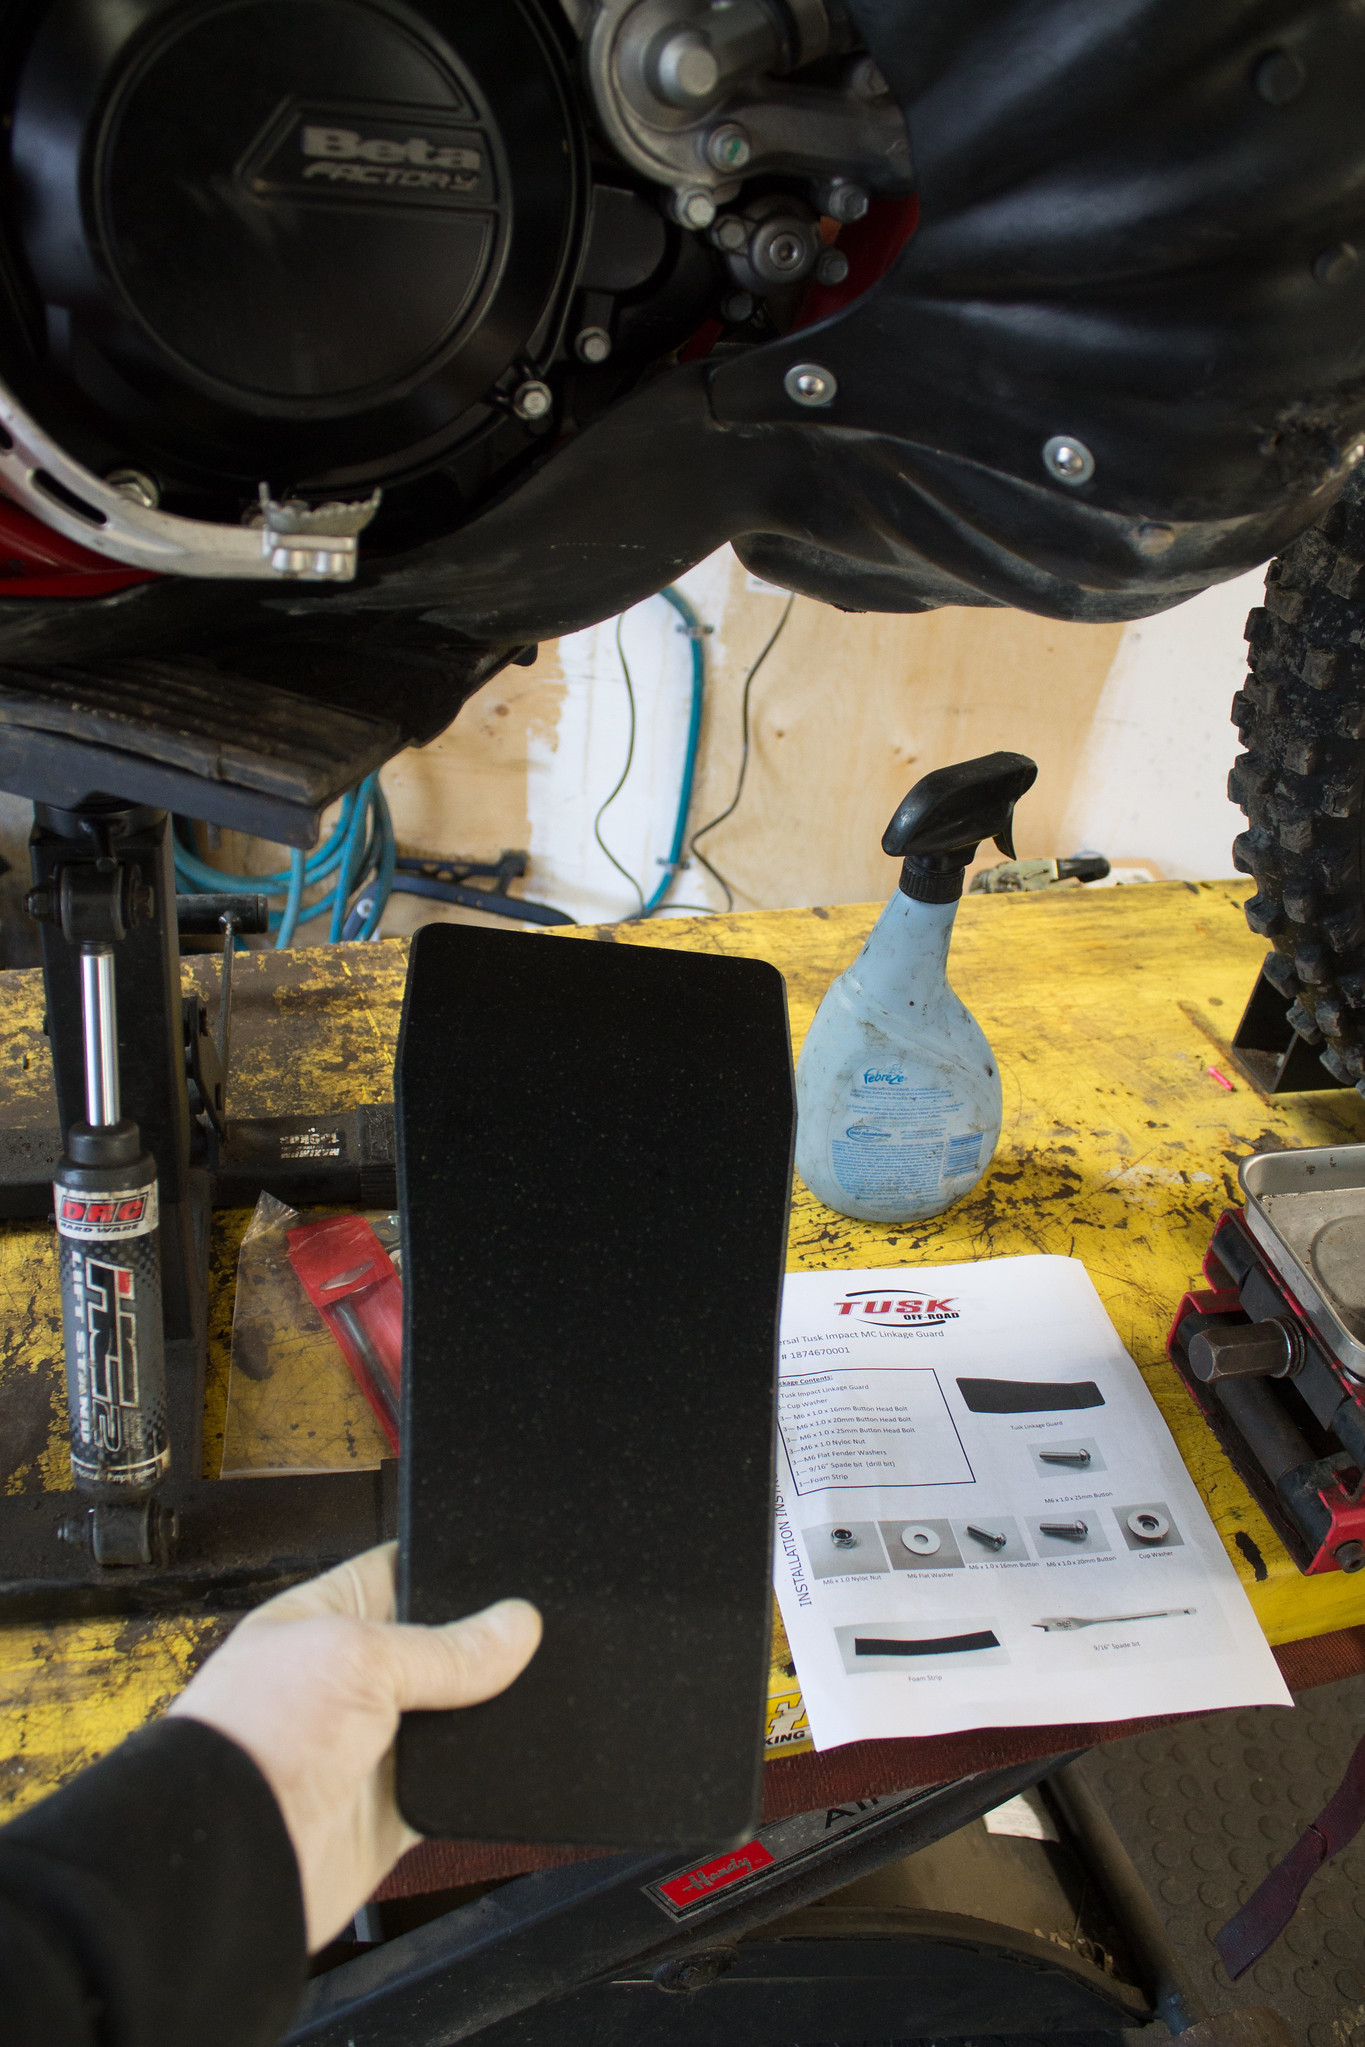
Install was relatively easy, and it covers the linkage well. Zoom in on the below for a finished product for a lookie see!
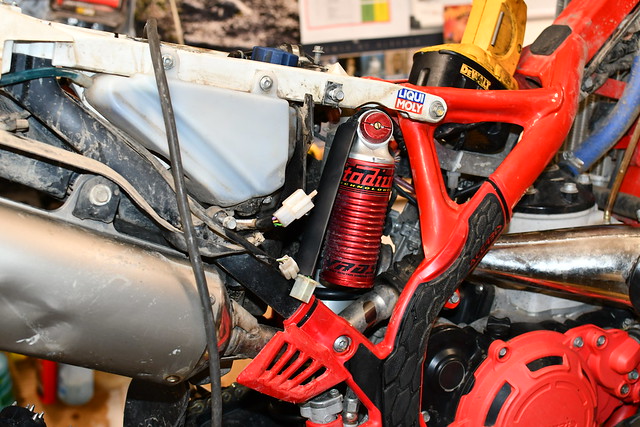
-Acrebis side case protectors. I mainly wanted the clutch protected, and these were decent in price ($70). One thing to note is the generator cover will interfere with the P-tech case guard. I’m pretty sure it will interfere with any case guard. I cut to suit. No biggie.
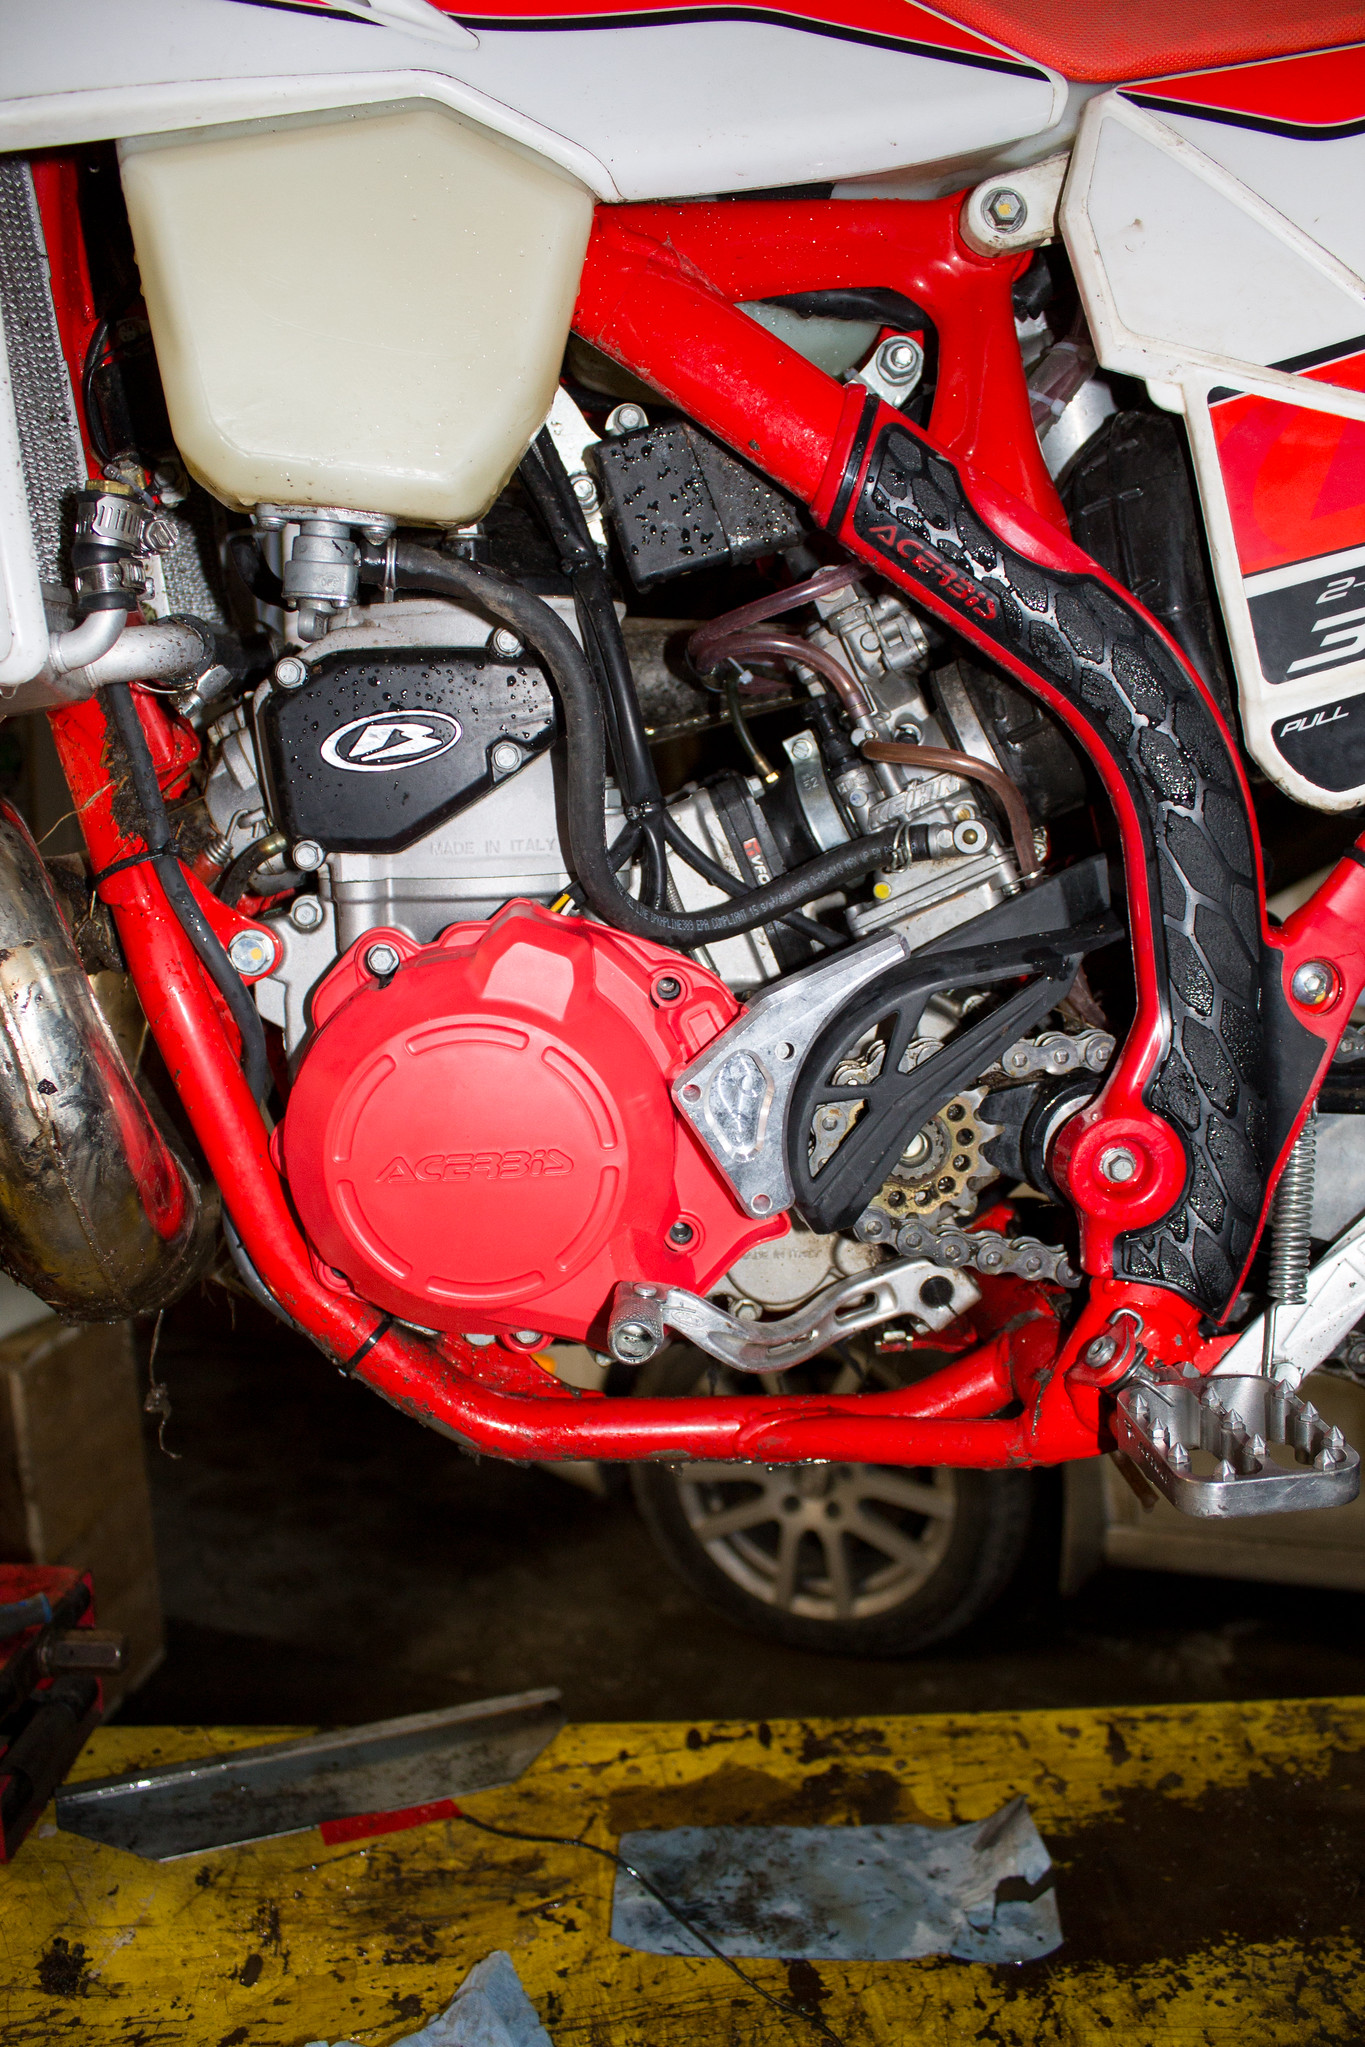
-P tech case protector. Simple and clean and cheap…($45). As a bonus the OEM chain guard stays on, and keeps the crud off. Shown in pic above!
-EE shark fin. It’s a nice looking piece which was well priced ($95). You do need to remove the OEM brake slider thinghie…

-BRP Chain guide. It’s damn beefy compared to the OEM jobbie. Bonus, the bottom slider comes off, so no need to take the chain apart

-Rear brake lever clevis. Ebay. $9. Nicely machined piece that takes the OEM slop out
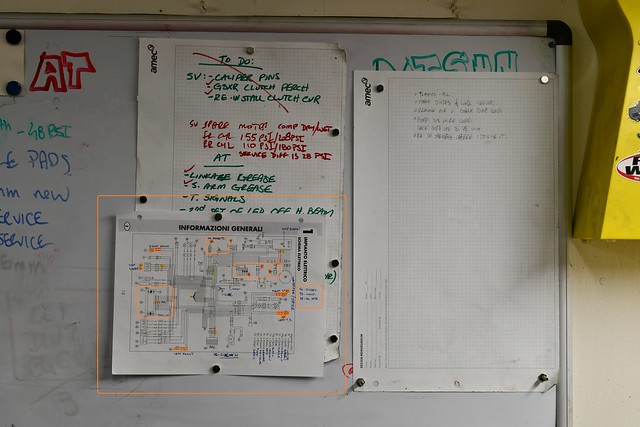
Bike once over, and BETA known issues.
I followed Barry’s excellent vids, and suggestions. All of them were checked, and done on my bike. Excellent breakdown of the issues below.
Barry’s excellent vid
I typically like to go over my bikes before I go ripping around. This thing was basically new, so I assumed that all fluids were good till the 1st change, which in the tranny’s case is 15 hrs from now…
Engine.
- Comp. check: Once I borrowed a short neck compression tester. WOT, three separate readings gave me 156-158 PSI.
- Squish: My xc had a very wide squish band. It ran fine, but there was room to improve. The Beta had a squish of roughly 0.074-.076″ squish. I will remove the head and shave off 0.02″. This will likely gain another 15-20 compression points, cleaner burn, and obvs..even more low down grunt. All of the above made my xc run better, logic dictates the same for the Beta. Richard did a great job on the XC head. Beta head on its way to him.
- Carb: JD jet kit. Red needle on 4th clip. This one is a bit rich for my typical 3000-7000′ range. Will move up one. 38 pilot jet, and 162 main. These will stay as is. On the two rides so far, bike is crisp, with a tiny bit of splooge on the muffler. I also have some free air and idle screws coming from Evil Greg, thanks buddy!
Suspension - Forks/shock: I didn’t get a chance to set sag yet, but the re-valved forks and shock feel plush. I didn’t have the bleeders installed, but will give it a go this weekend with them in. I will likely play with oil level only on the front forks, so all good there
- Fork: guards on older models have tendency to rub the fork uppers. There’s a small metal clip at the bottom of the forks. I added a big tie wrap on each leg, with the head facing forward
- Linkage. Pulled apart, cleaned, and re-greased. Note..book has some retarded torque settings for the bearings, ranging from 70 to 90 Nm…which seems insane. I torqued all mine down to 36 FT LB, c/w red loctite.
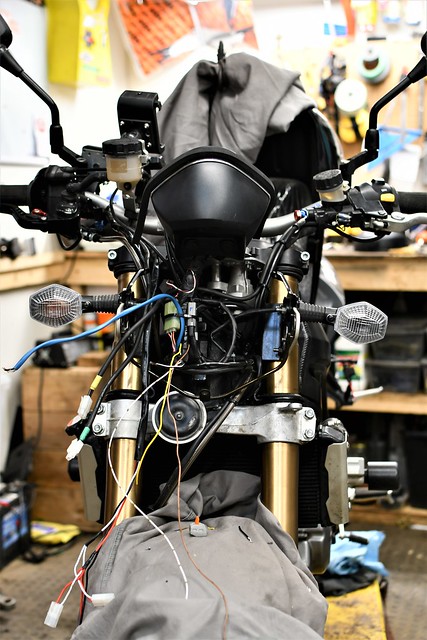
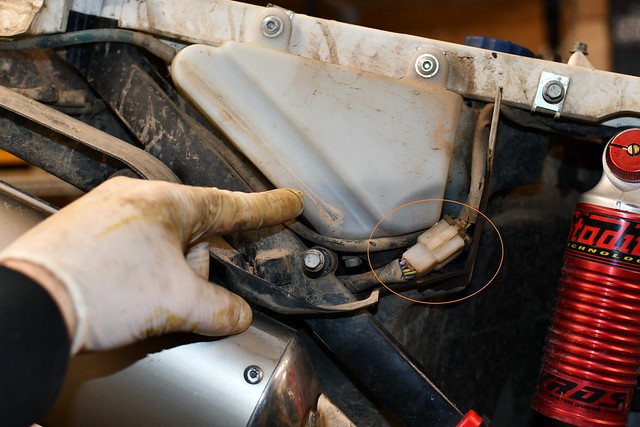
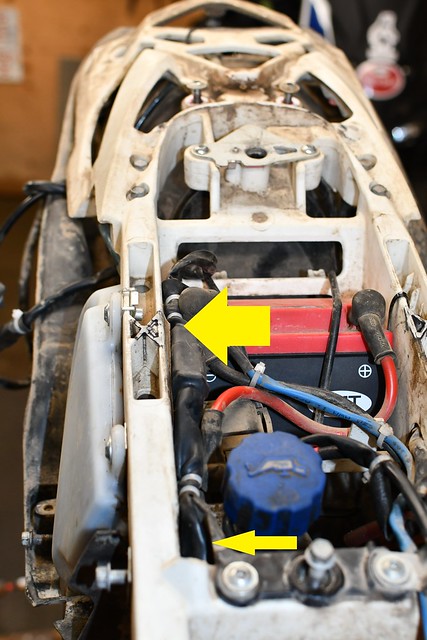
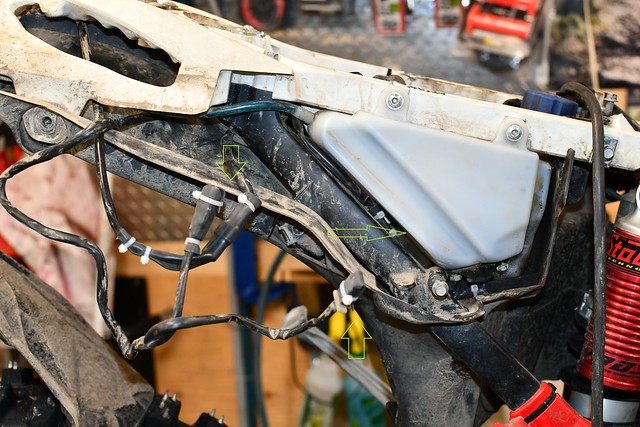
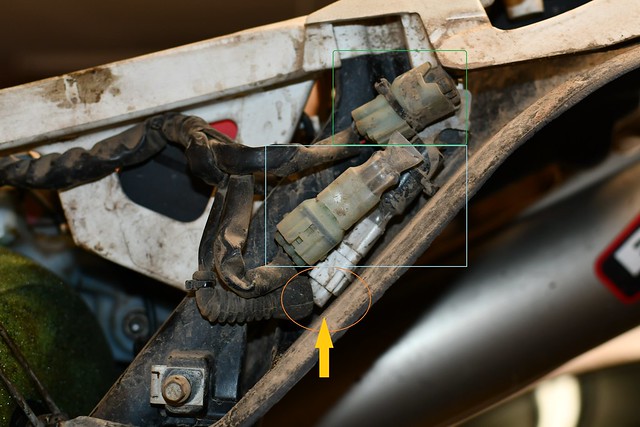
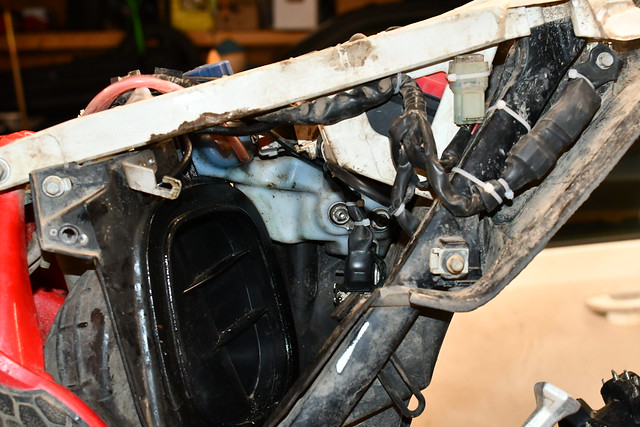
Body/frame/exhaust - I went over the electrics, and tied up some wires, esp. at the front by the headlight. Otherwise, it all looked pretty good
- Exhaust rubber seems a bit flimsy. I tied two giant tie wraps, and left them long in case I need to snug them up again.
Known issues
See Barry’s vid above. All well explained
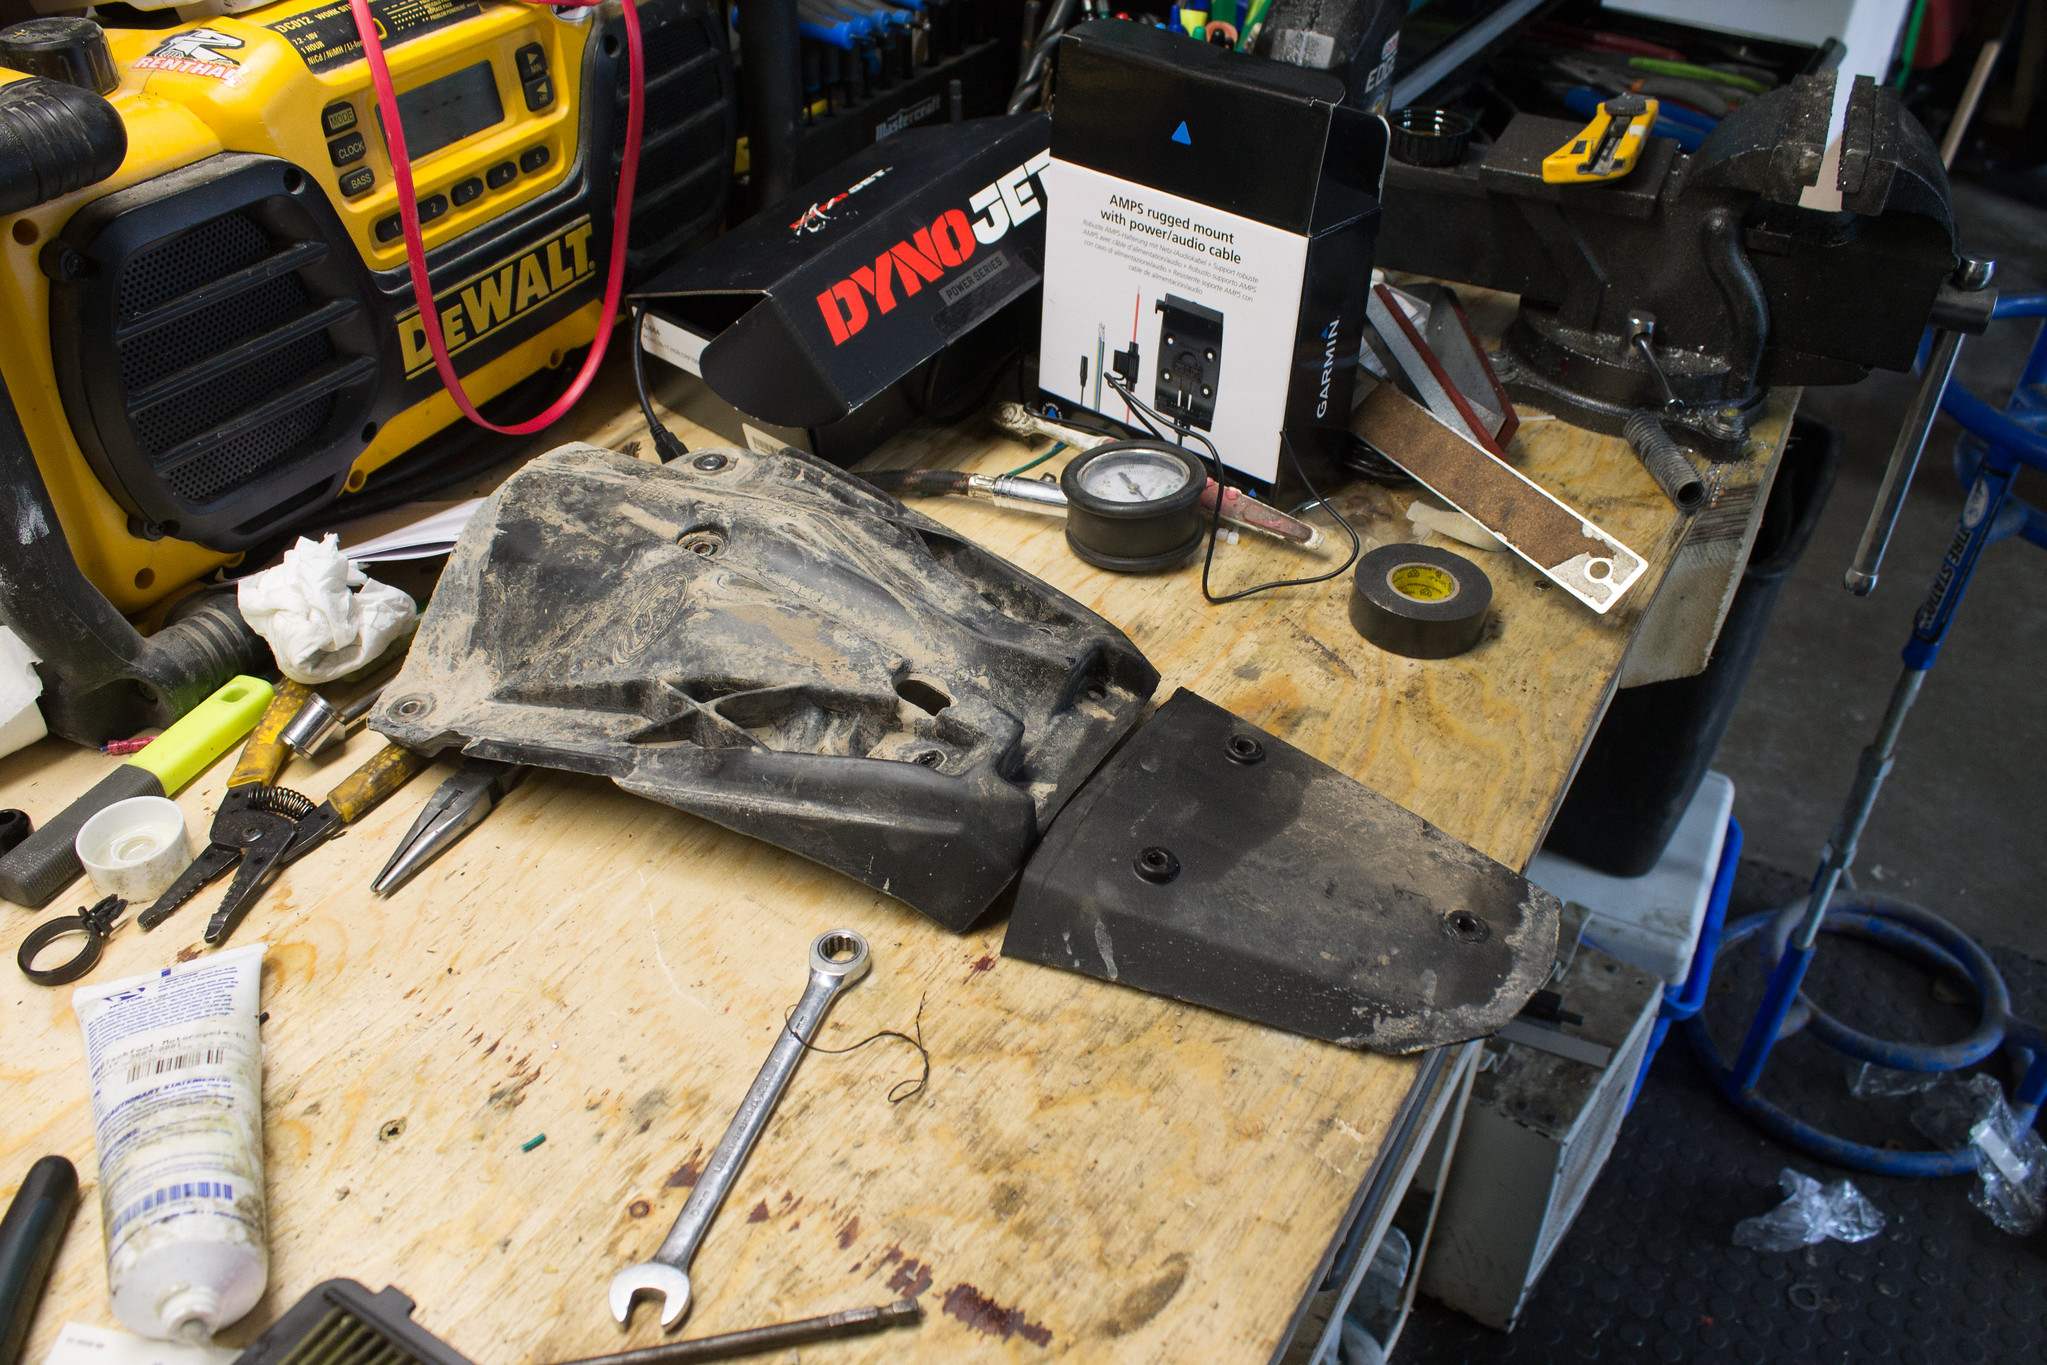
- Plastics. Yep…the 2018 plastics seem better, but not KTM grade. My front fork guards already have one eye bolt broken off. I did cut off the tip of the OEM rear fender just as insurance.
The OEM stickers are starting to peel etc..so there’s room for improvement - The airbox retaining clips have lame rivets. One of mine was ready to fuck off at 25hrs.. Drill out, and replace with beefier rivet
- OEM seat. Likely just me, but I like to sit on the back of the seat to get traction…for obvs. reasons (KTM pictured, but you get the idea)
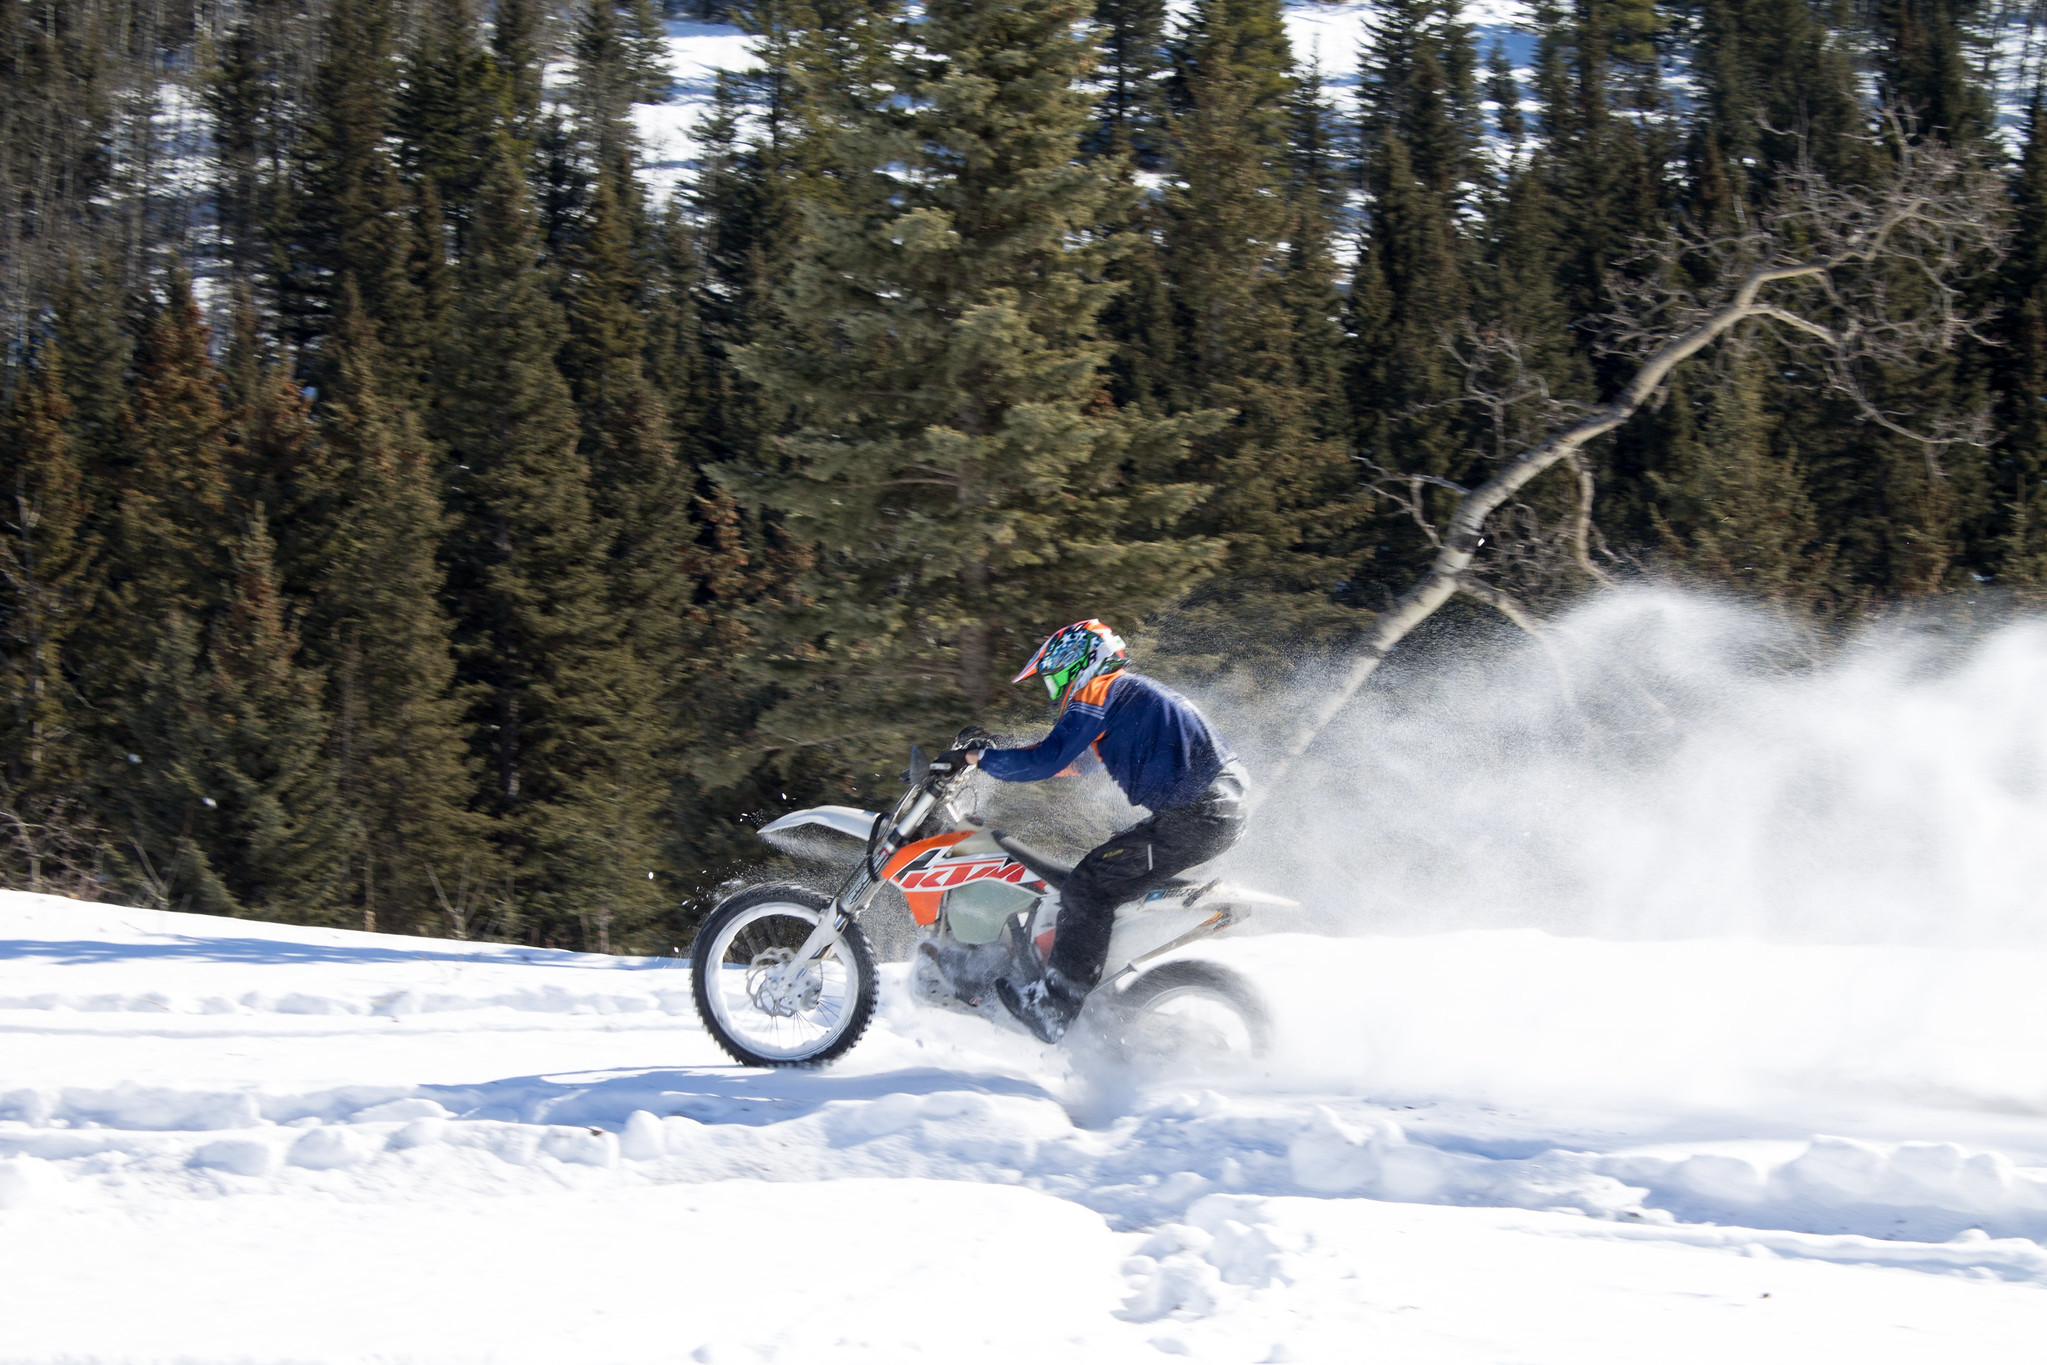
I’m at the back of the seat all the time, and basically on the fender. Seat seems short…but again…likely just me. I’m not a big guy (5’9″) and the bars are set at the mid mount on the triple…might move it up to the top mount.
Foam on the seat leaves something to be desired. - Barry mentioned that there’s some issues with 2018 main bearing…as in the main engine bearings. Geez…long of the short…or short of long.. when the main bearings were pressed in, they were not pressed in evenly, putting pressure on the inner race of the bearing. A small amount of Beta’s have failed. As of this update, i’m at 85 hrs with zero issues. Fingers crossed. Another excellent vid from Barry here, very well explained:
Dodgy bearings vid
Initial thoughts
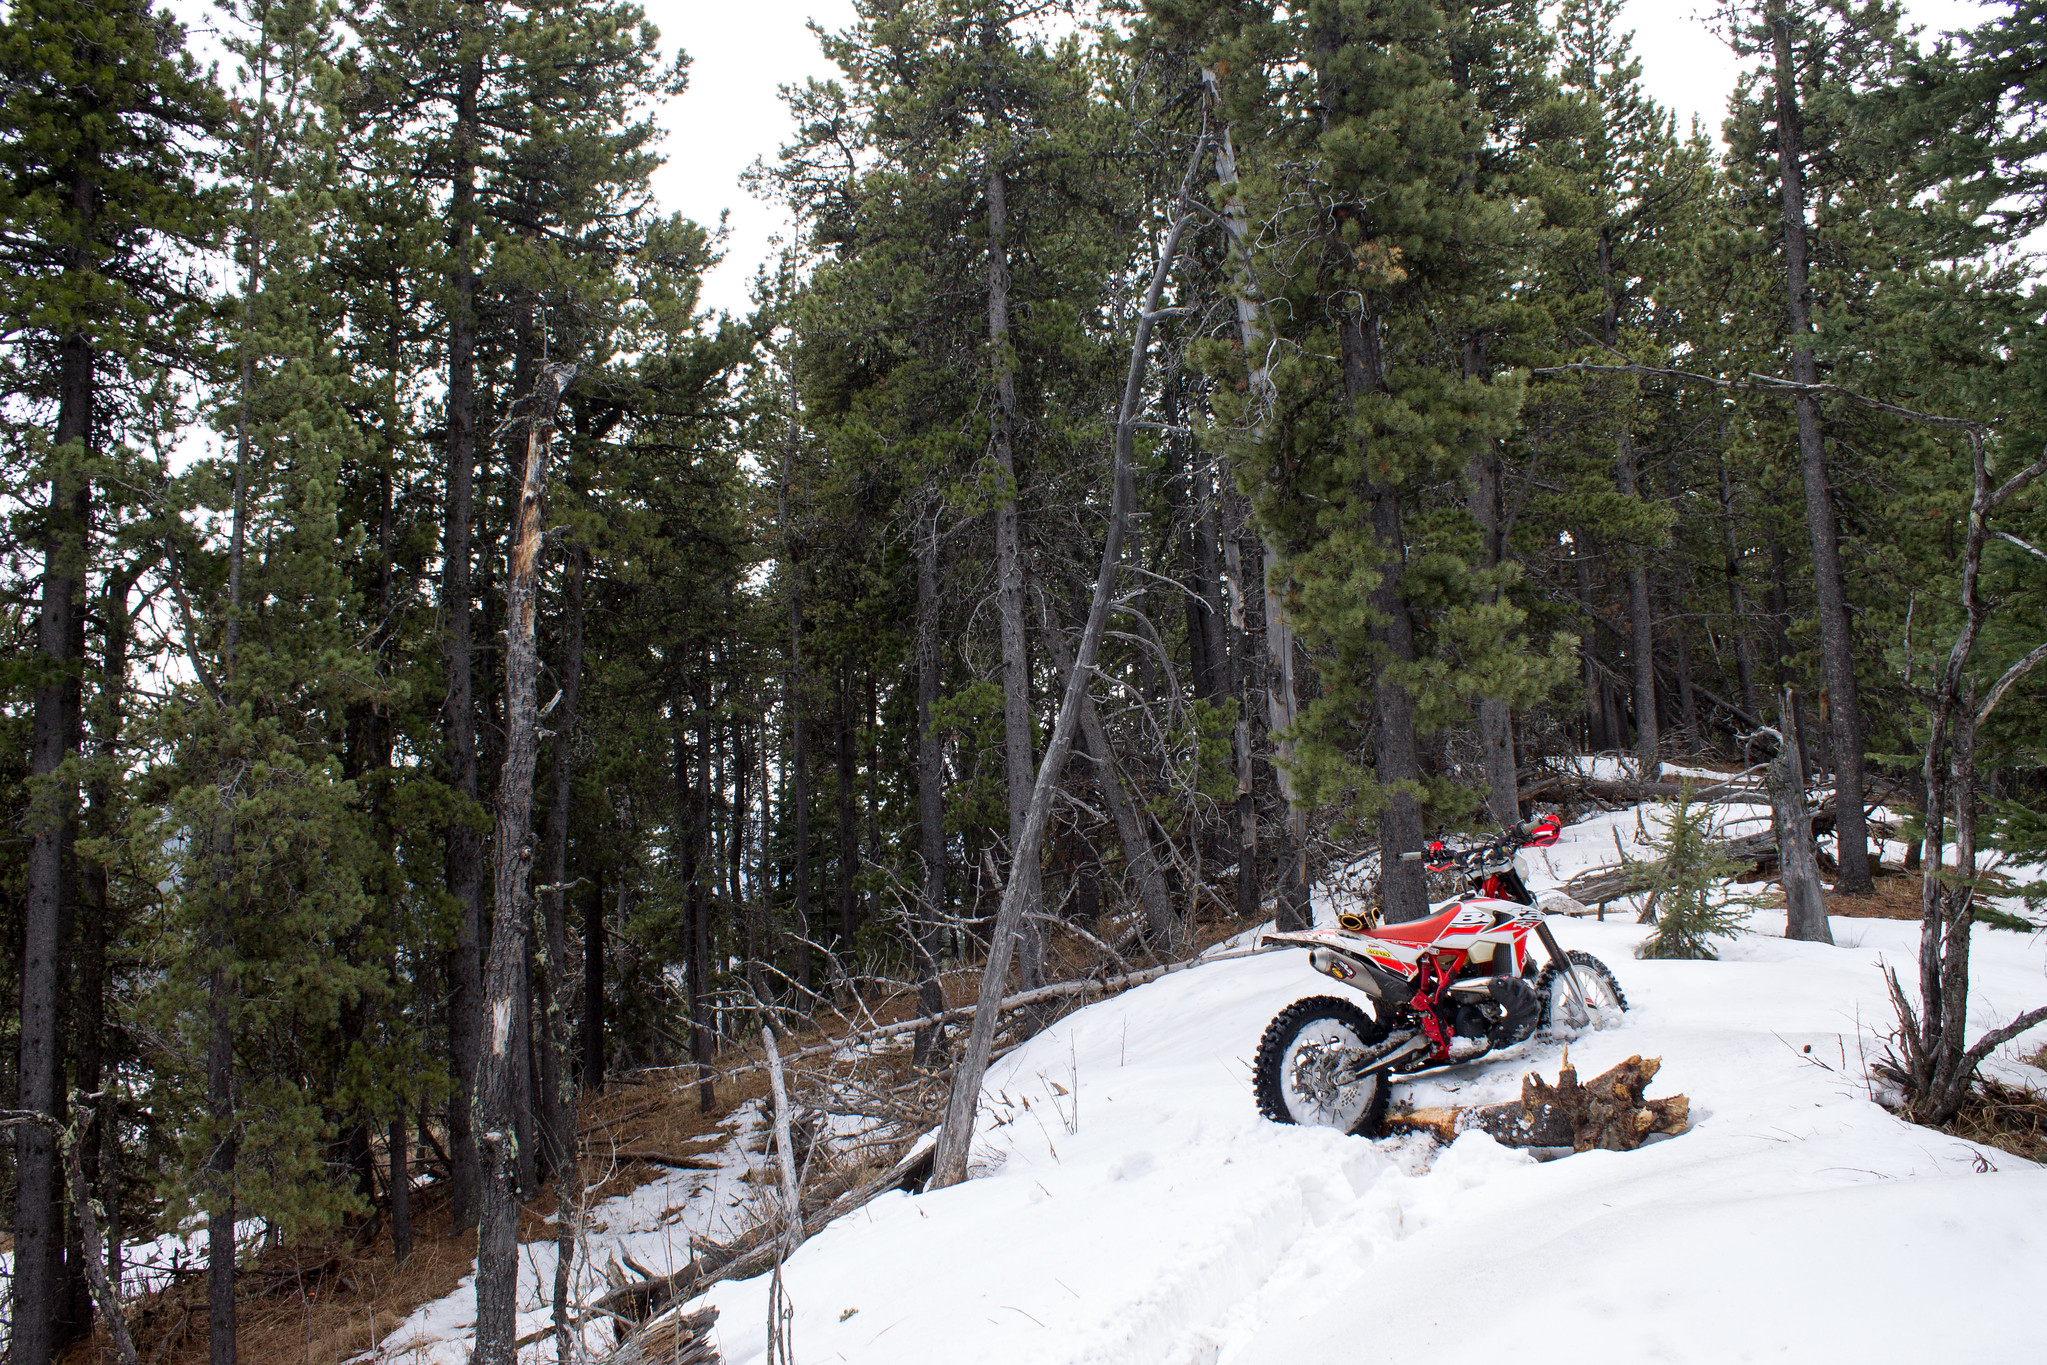
I only had two rides so far on the bike. 1st was far from ideal. Way too much snow. I also found out that after assuming wrongly that all fluids were present in the bike, it turns out the tranny had zero oil in it. No matter. Added some in and enjoyed the rest of the ride.
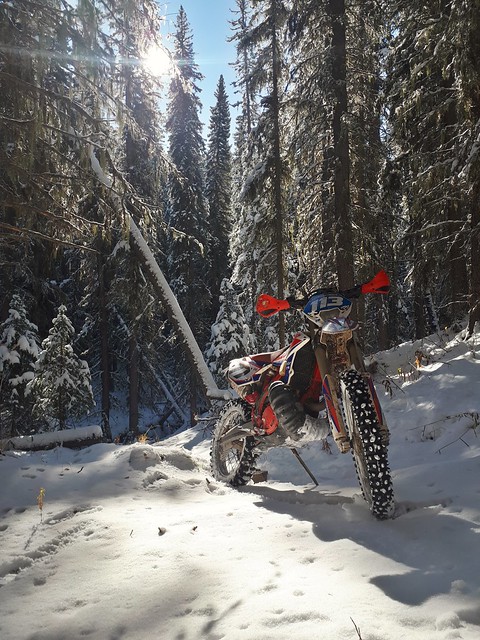
2nd ride went much better. We actually got to ride. Mixed conditions with packed snow, ice, mud, and exposed rock/grass.
The Beta feels very grunty even in the soft power setting. Easy to balance in a tight rut (mud, snow, ice).
I do notice the slightly lower stance of the bike in comparison to the xc.
The functioning starter is a god send. In gear or in neutral. A working starter, what a concept.
The steering lock is a bit limited. The rad guards don’t help, so for now the bolt and an nut are in. May replace it with a few washer to gain a mm or two. Moar reason to get the pivots down.
The bike comes very well equipped with:
- FMF full exhaust
- Good open cartridge forks and a decent shock. The valving for me is a bonus.
- Reeds that are not made in a dark back alley of Munich (v-force reeds on the BETA as standard)
- A proven carb (pre 2016 pumpkins were good, same Khein carb..2017s got fiddly with the Mikuni)
- Good quality rims, and black too. the 2017s looked ghay in silver
- Tasty starter (sadly no kicker)
On the other hand, the plastics still feel flimsy and will not fare as well as the Bavarian blasters, besides the shitty stickers, rivets, and some odd ball torque settings (96 Ft-lb for the rear wheel!?) it’s a very nice bike.
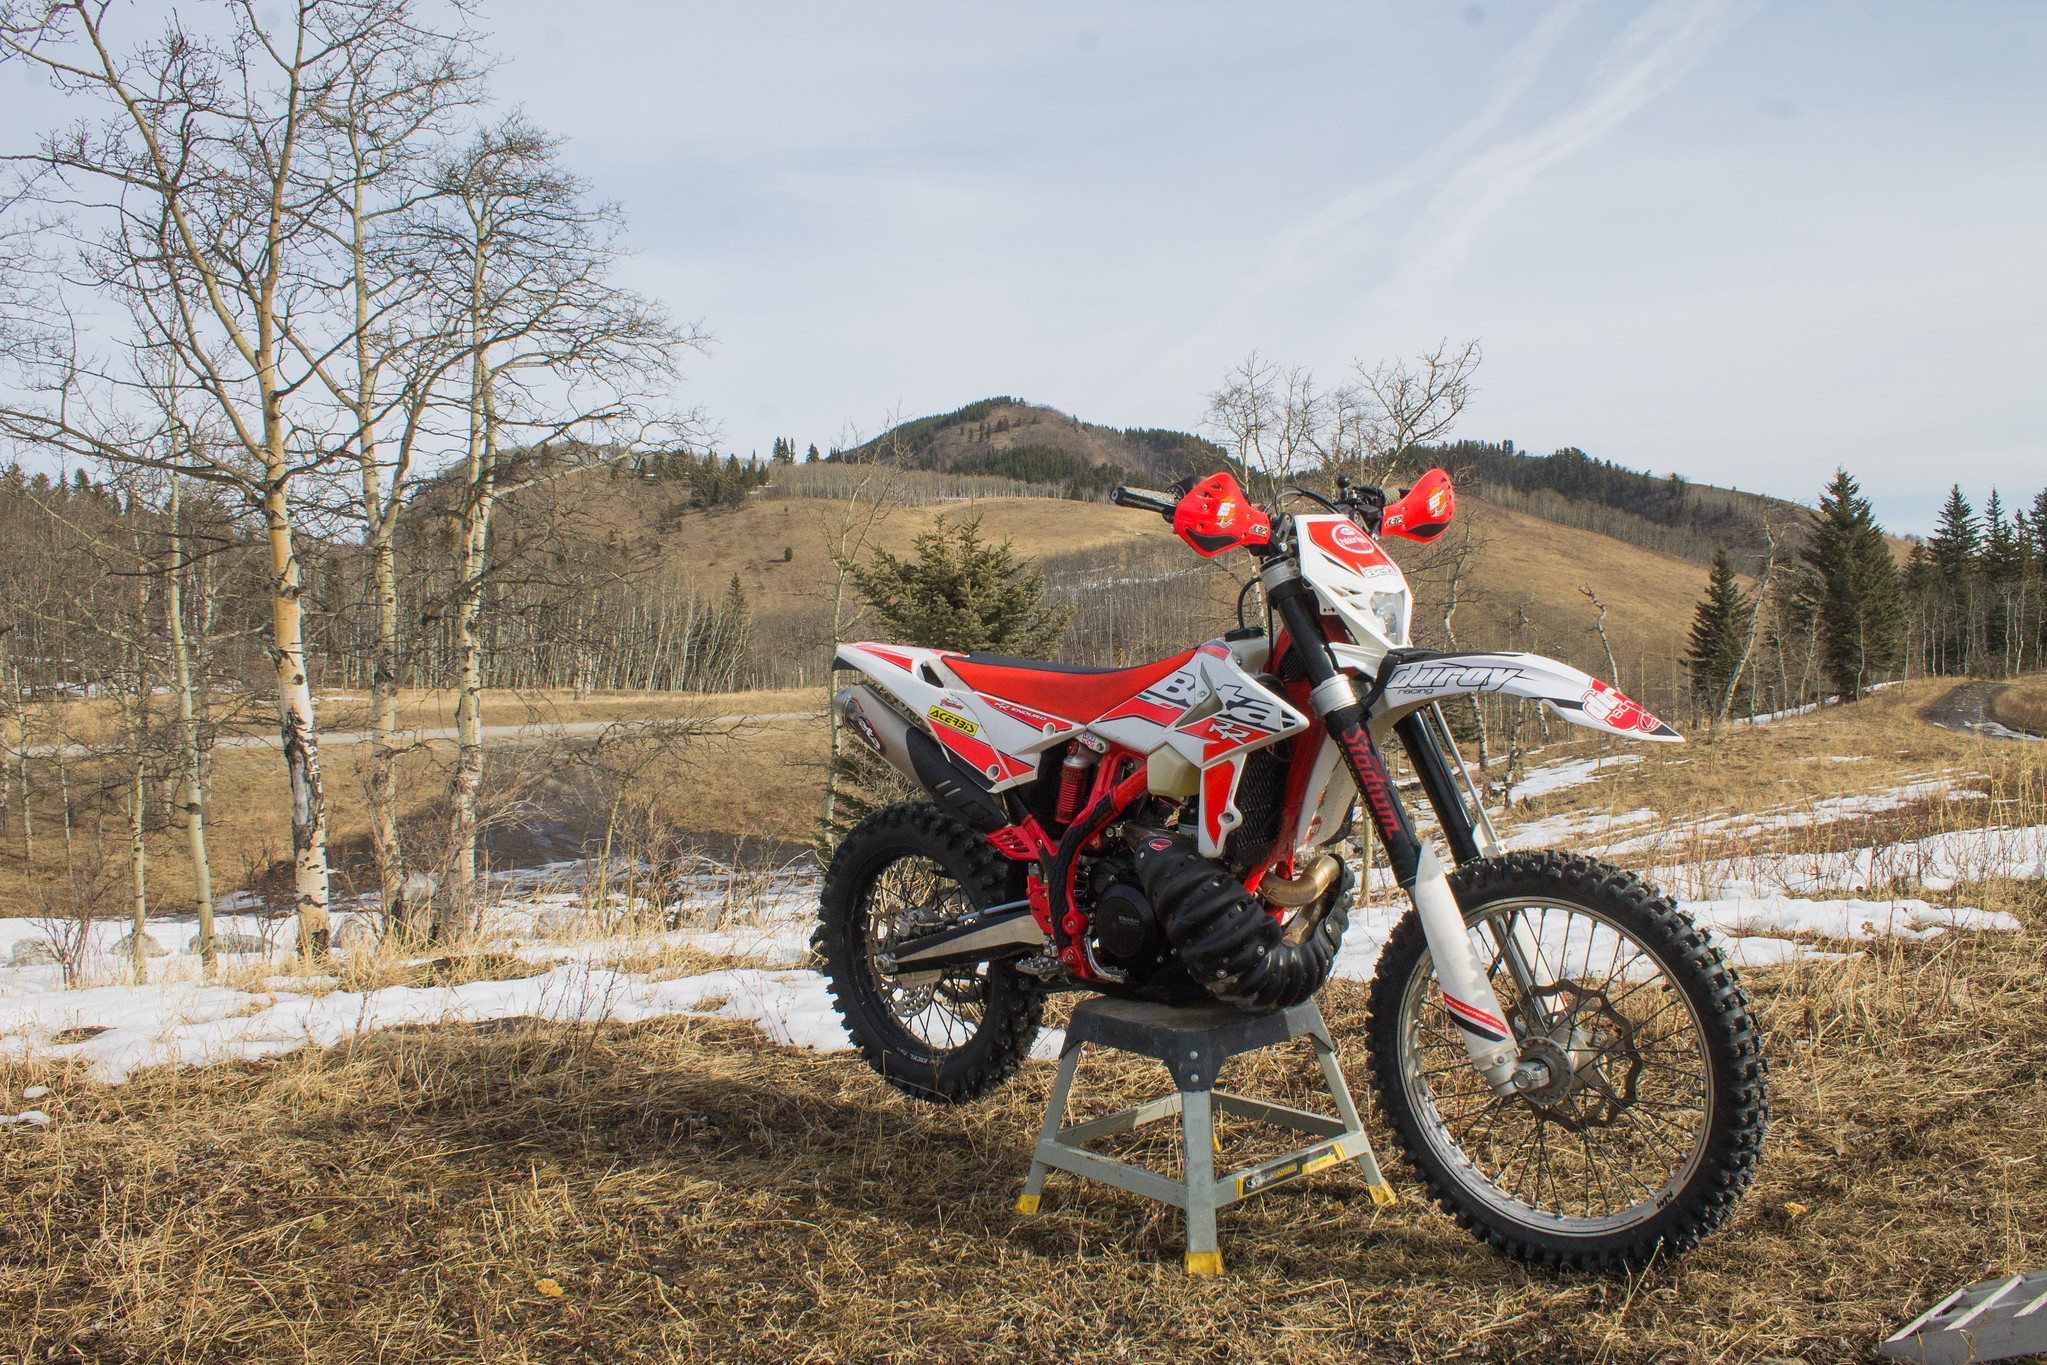
Looking forward to logging some more hours on it. Will update as I do.
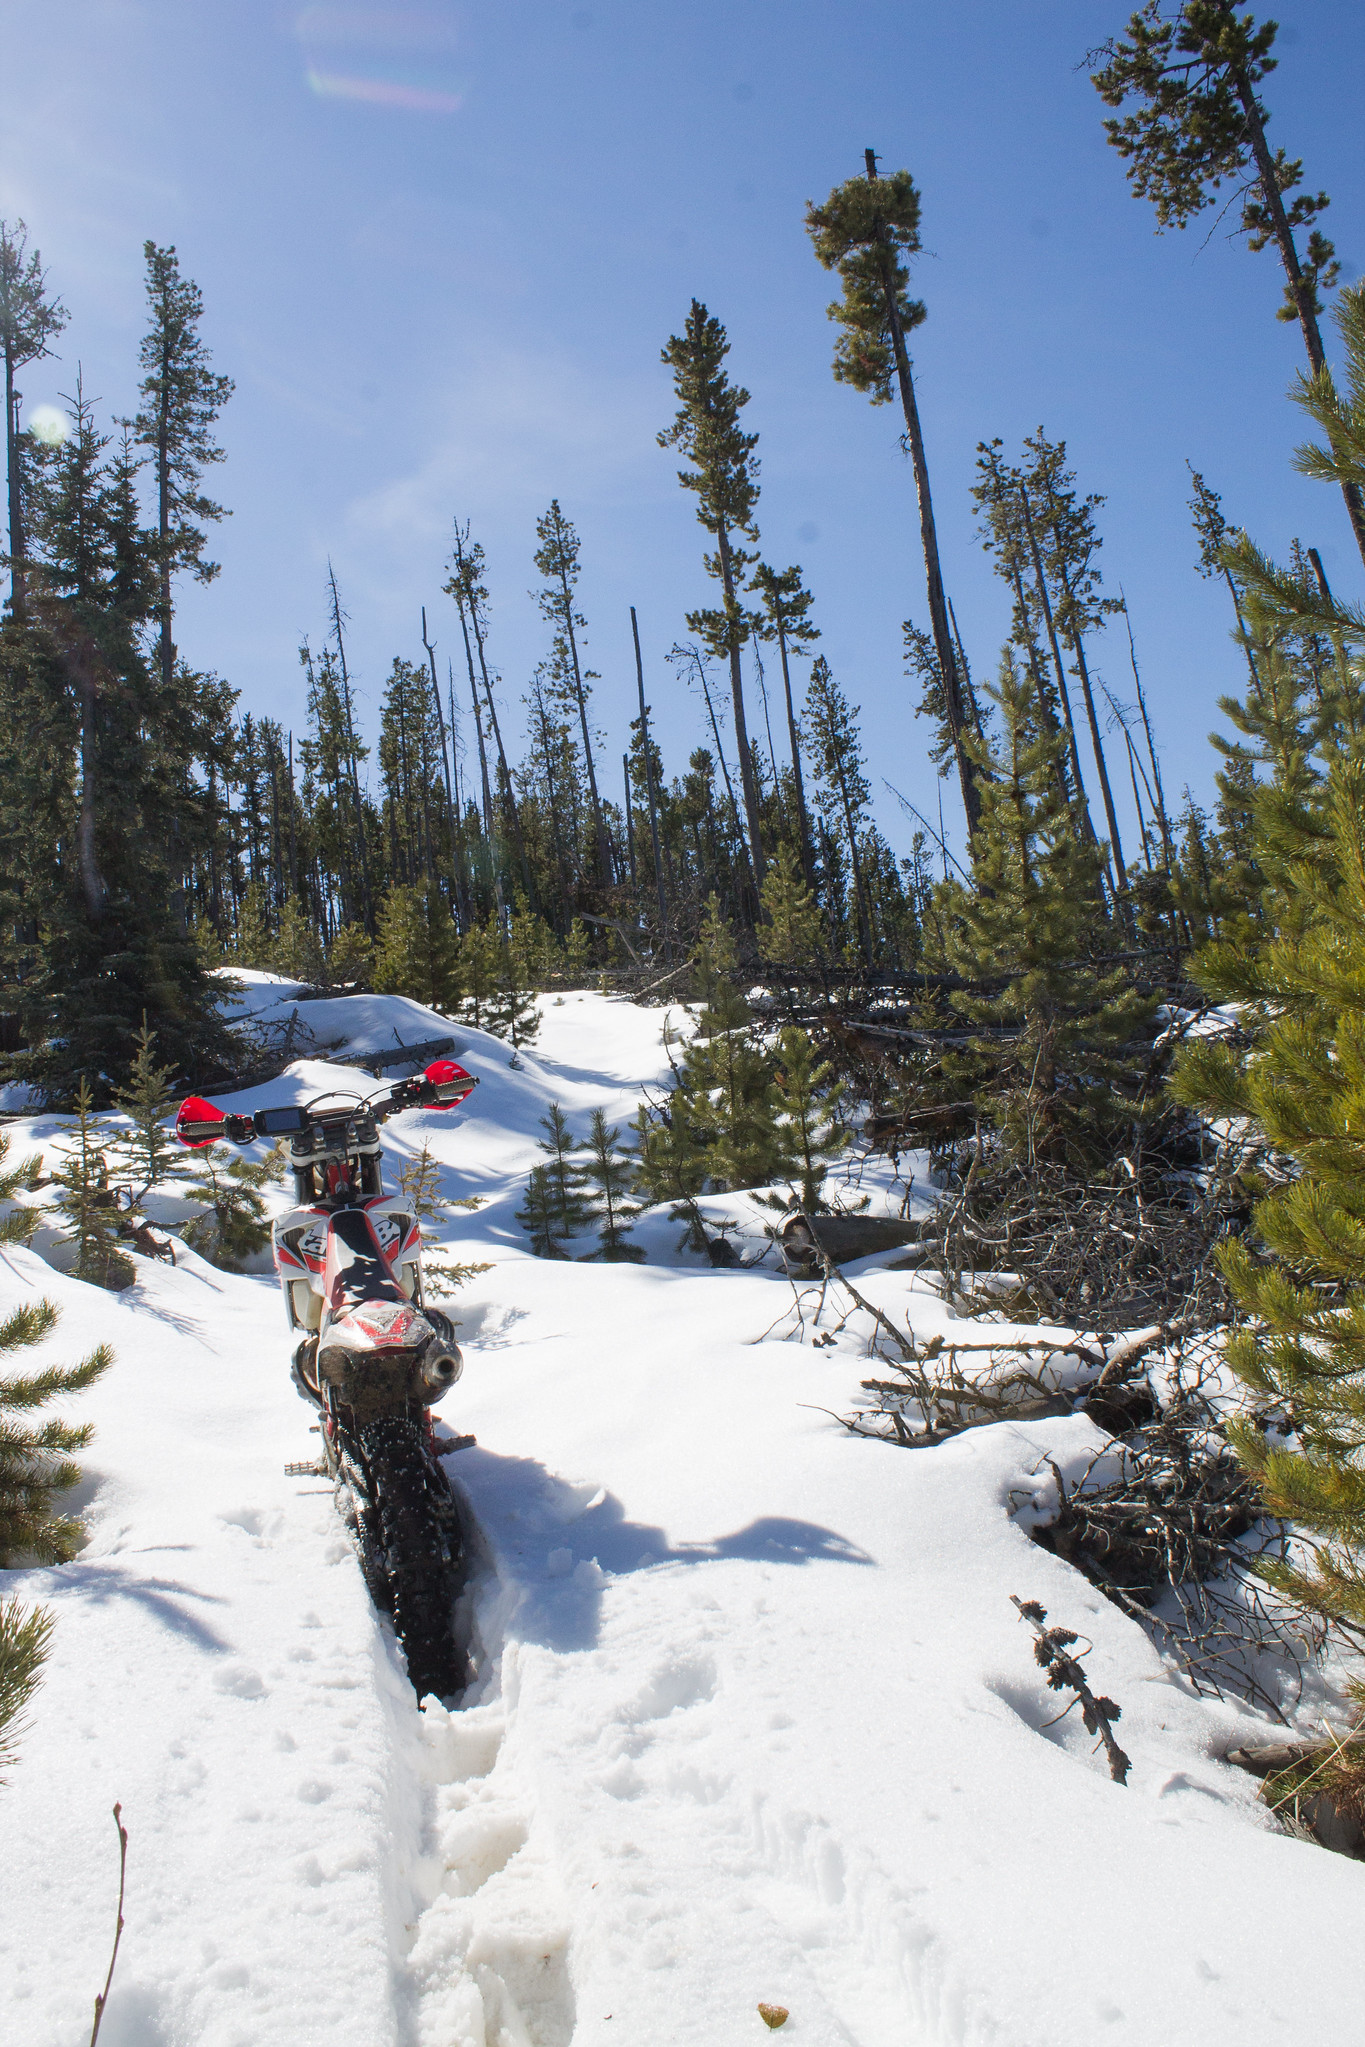
Had a great shoulder season ride on Saturday. Studs very much needed. I’m very impressed on how well this bike balances. In deep single track snow ruts (read, one tire width) with enough speed, it hammers through the stuff.
90 HR update:
Right, about 85 or so hours on the bike. 60 hrs logged by me so far. Thoughts..love it. I absolutely love this 300. It’s physically smaller than my xc/xcw 300. That said, it heavier than my buddies 2017/2018 TE 300s.
As mentioned above, the steering lock is more limited than the BB (Bavarian Blasters). That said, because of the smaller statue of the bike, it simply turns better through the slow and technical stuff. Big thing here as well, is that the wheelies, and pivots seem to be easier, likely due to size.
Gearing is a bit different than the KTM XC. Typically they are 13/52. Beta is 13/49.
The shifting is a bit notchier. I change the oil every 10-15 hrs, and it makes no real difference.
The more technical the terrain, the better the bike works. Magic.

105 HR update:
Meter rolled over 100hrs a while back. Talking to a buddy of mine with a 2016 300RR he asked me when I last changed the oil in my forks…errmmm…around the 60 hr mark I said…he told me to have a look at my forks, as his outer tubes had worn anodizing, and were causing some seriously annoying binding/stiction.
Sure enough…my tubes at the lower triple have a big area of anno missing. This is due to tube flex, or possibly poor anodizing. But as explained to me by a much smarter person, anodizing is: Anodizing means nothing else than enhancing the alumina layer that builds on aluminum under atmospheric conditions. Aluminum (like chromium) grabs the oxygen from the air and builds a very thin but dense oxide layer that is transparent and stops further oxidation (effect called rusting when it comes to CS). The anodizing process just enhances this process by chemically intensifying the oxidation process.
so what now? well…not much. I got a decent price locally to apply type three anodizing, the hardest type allegedly. Stand by.
250 HR Update
I’ve had a busy two seasons on the Beta.
Things I’ve done on the BETA:
- Top end rebuild at 135hrs. Nothing to report. Power valve was spotless. Maybe because of the synthetic 2s oil I run
- Rear shock was refreshed, and is getting due again
- Forks got oil changed a while back and are due again
- I fixed some wiring, and checked the injection system. Standalone post on that
- Broke a throttle cable. Really should have change it at 200 hrs as its all of $40!
- Slave clutch cylinder seal shat itself around 210 hrs. Had a very interesting ride out of a deep gully with no clutch. Made it out
- Gone through tires
- Bent the shifter and rear brake pedal.
How’s the bike been? A shit ton of fun! I’ve been getting very used to the size, power, and capability of this bike. Hope to see it hit 300 hrs.
What’s next for the Beta? Got a few things on the bench
- Top end will be due right around 270 hrs. I’ll check compression prior to the rebuild, and more importantly address the large squish on the motor. I have not got round to getting this sorted. I’ll have the head shaved roughly 2 thou to get it to burn and go better
- While the head is off, I’ll pull the OEM rad hoses and replace with AS3 silicone items
- I have a reed cage rebuild kit that will replace the OEM reeds
- I took the OEM FMF slip on apart to check the packing. It was in v.g shape, so re-assembled and re-installed. I do have a shortie FMF c/w spark arrestor. The packing in it has seen better days. That one got sorted, and put on the shelf when I need it
- New Fatty pipe, and a proper skid plate to protect the pipe. I’ve spent two seasons with the Hyde skid plate.
- The pipe still takes a hit, and starts leaking. The large plate will take the impact rather than the pipe.
- P-Tech skid plate. I’ve ran their plate on my 2014 XC and been very happy with it. They recently updated their design to change the mounting points.
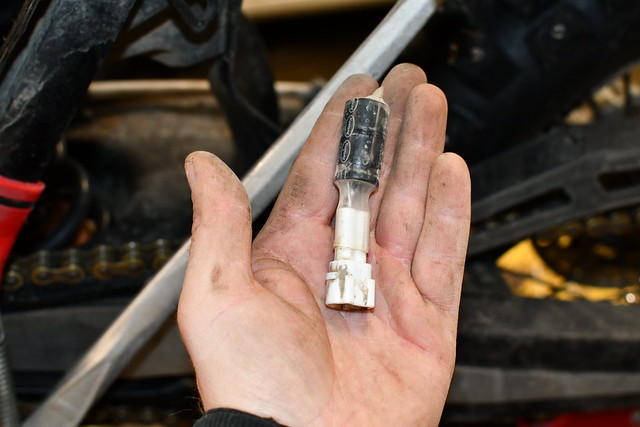
- Recently my L-ion battery shit the bed. It’s getting on to 3 yrs old. Issue we have in the great white north is that the bike sits in the back of the truck at speed. Yesterday, the temps dropped quickly from -8 to -18C, and when I showed up, it was frozen solid. I did unthaw it, but the voltage was around 10.5V. No way in hell that was going to turn it over.
- Fun fact, when I got home, I rocked the bike back and forth in 2nd gear, pulled the battery, and connected it to one of my spare RV battery. Fired up on the 1st stab.
- Allegedly, L-ion batteries can be charged with conventional chargers, as long as charge voltage doesn’t exceed 15v, or goes into the de-sulfating feature
- I did charge it with a non lithium-ion charger. Seemed to work ok. Battery is back at 13.1V. Bike starts. To be on the safe side, I picked up a charger capable of L-ion. Will likely extend the battery life for a while still
- I’ll replace it with a lead acid jobbie when this one packs it in. I don’t really care about the extra weight. I’ll skip the morning burrito. When properly looked after, they last ages, and are cheap
- Outside of usual maintenance (fork oil, shock oil), it’s been getting regular transmission oil changes
- A slight tweak to the main carb needle (JD kit, blue needle with a slightly fatter fuel delivery on the 1st 1/3). I did drop in a 35 pilot jet to lean it out a bit. I think this should be a good spot. Can fine tune with the air screw.
263 HR Update. Top end rebuild, and reed cage rebuild.
Full how to vid here.
- Ring gap was identical to my 1st piston/ring swap. .4mm/0.20″ old (0.4mm is the service limit for the Beta) and 3.04mm/0.16″ new. So the Nicasil has not worn any.
- Compression. 142 PSI old/ 147 PSI new. Not sure why this isn’t higher. Some thoughts below.
- Squish. 0.061-.069″ old/ TBD new
- Top tip, the KTM reed rebuilt kit is a straight bolt in. It’s a third price of a new reed cage.
- The cylinder is nicasil plated. Jeff doesn’t recommend doing a hone on it, just to de burr/clean with a scotch bright pad any minor burn spots etc.. vid here.
- Compression pre/post rebuild. I couldn’t find a pressure rating for the Beta anywhere. And for good reason. Pressure calculator
- Turns out that you can take your compression ratio, and times it by air pressure at your altitude, i.e. a motor at sea level would get 175 PSI. I have to make do with 154 PSI at 1045m/3000 footsies.
- The colder the temp the lower the compression.
- Logic would dictate that a warmer motor gets higher comp.
- Beta is a 11.9:1 comp *12.96 gives an adjusted for pressure number of 154 PSI. I’m still a bit off that number (147 PSI when checked after a short .2 hr run, on warm motor), as I’m using a tester that has half the thread of the actual spark plug (moar volume. less pressure). The new piston and rings have only 1 hr of run time. I attempted a few heat cycles yesterday, but comp still sits at 147 PSI (cold). Bike does feel very good, and takes nothing to bring the wheel up.
- When I got the Beta with 25hrs, I borrowed a friends good quality comp tester and got a reading of 157-159 PSI. The above are with my shitty tester from home, so that might be part of it.
- Also recommended to check comp on the kick starter, and not the electrical starter. I’m SOL there, as I don’t have a kicker
For those of you wondering about stock squish on the Beta’s..
it’s piss poor. Actually any bike is. Great post here.
I had vg experience shaving my 2014 xc300 head. It’s dirt cheap, and will give you better fuel economy, more snap off the bottom, and less splooge. Ideal squish is 1.1-1.5mm.
With a paper thin .2mm gasket I was able to get it to 1.6-1.7mm squish. But got the creeps running such a thin gasket. Had nothing laying around thinner than .8mm. That bumped squish to 2.22mm.
A friend of mine lobbed 1mm off the head. Even with the fatty base gasket the squish is a vg 1.35-1.45mm (outside to inside of piston). Should be able to fine tune it with a .6mm, or .5mm gasket in 100hrs time.
Compression went up by 10 points to 157PSI, which is pretty much bang on theoretical compression using stock numbers 11.9:1.